
I saw the picture of the valves mounted to the 7-pin trailer plug bracket, but i don't have one of those.
Where else have people mounted their valves? Pictures would be great!
Air Spring Valve Placement
Moderator: volvite
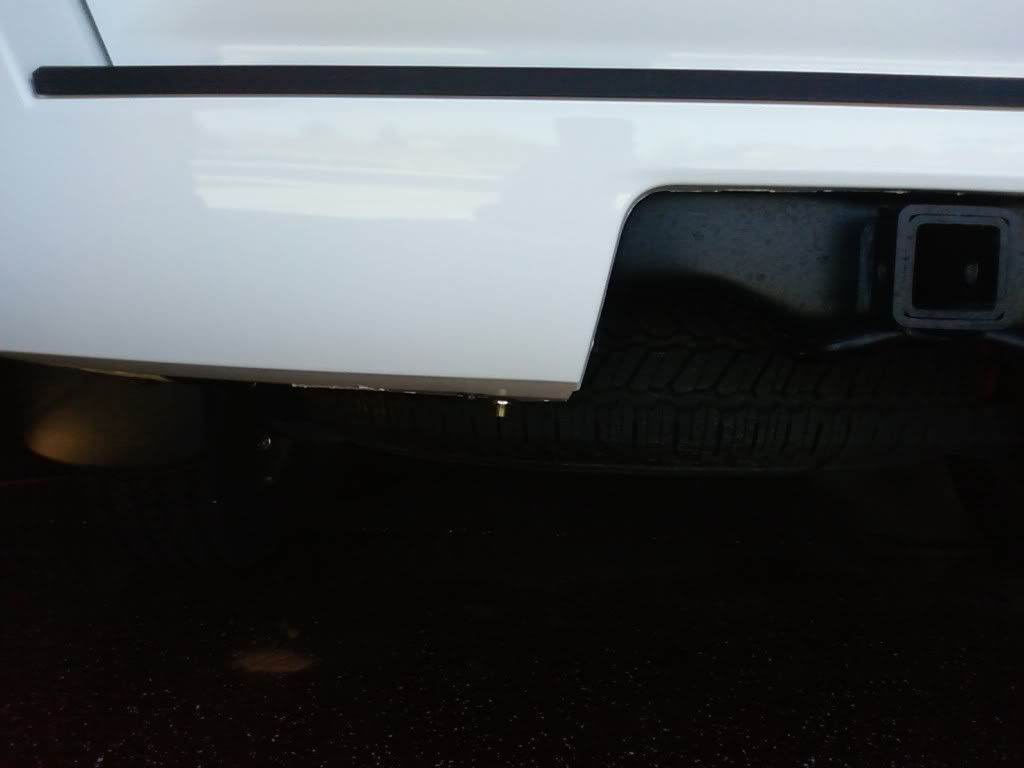
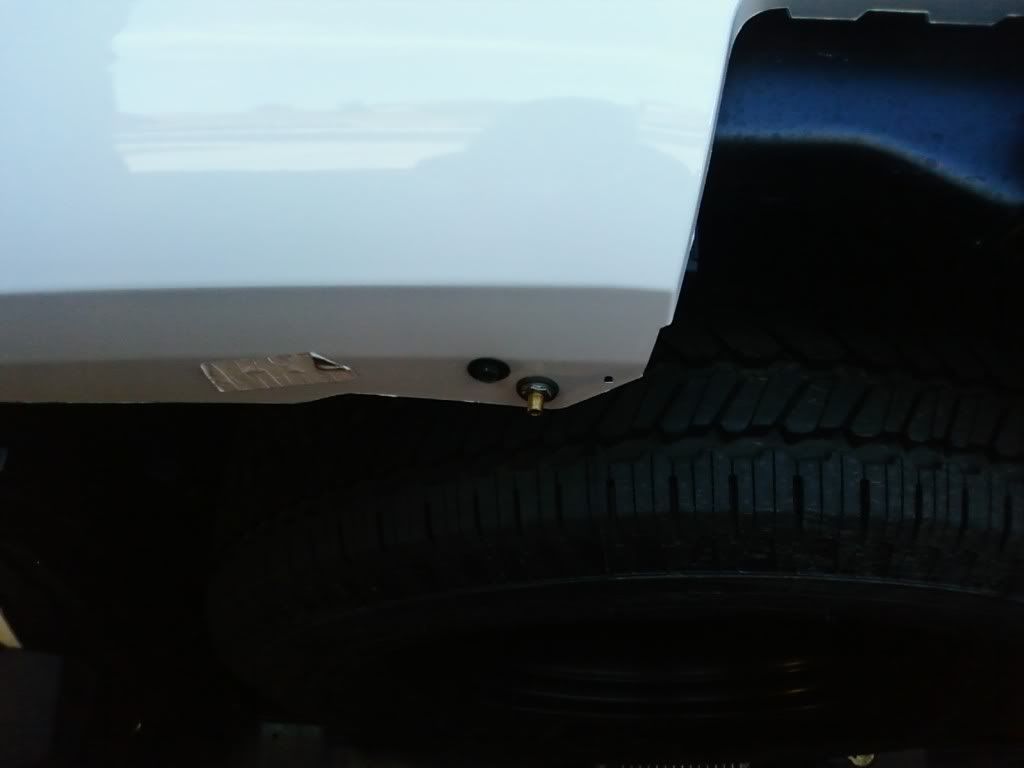
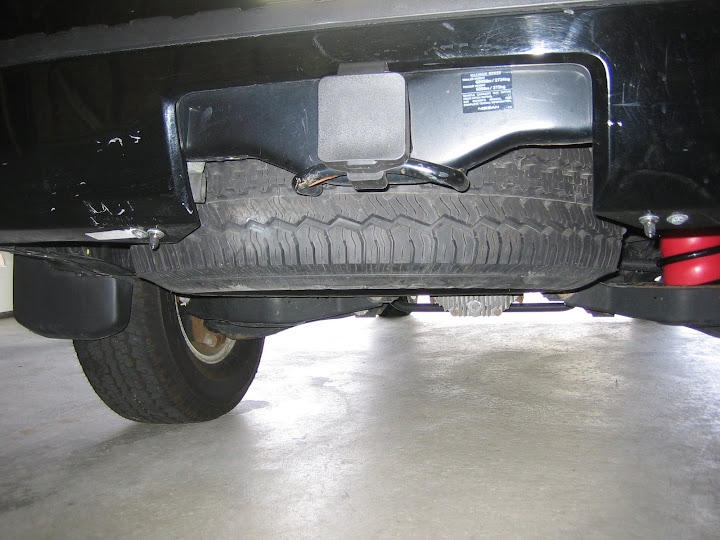
I asked the same question a while back, but didn't get any responses. I ended up mounting mine on the bumper just to the left of the cutout for the hitch. It is mounted near the bottom portion of the bumper very close to where one of the brackets is attached. Having it close to the bracket mount made it more stable. I choose this location because it is easily accessible and relatively hidden. I'll see if I can take some pictures this weekend.
The other challenge I had was figuring out how to route the air lines. Keeping the line away from the exhaust requires some work. I looked at what Carl did, but couldn't figure out exactly where his line went when he said he used the sub-frame. It looks like it goes into a hole, but I couldn't figure out where it came out. I would spend some time figuring out how you want to route you line before you start the install. Decide which side you want to put your T on etc. I ended up dropping my spare down to give myself room to work.
The last thing I'll mention is the air line connections. My kit came from another user on this forum so some of the connections were already complete. I noticed the instructions say to install the airbags and then make the air line connections after than. I think that's a mistake. There no room to get your hands in there once the airbag is inside the spring. I would make the connection to the airbag first and then install the bag. Just leave your line long enough to cut off the excess you don't need.
**Edit**
I looked at Carl's pictures again and now see where he came out of the subframe. I tried doing what he did but couldn't get the line past the first through-bolt. Since I didn't know exactly what was in there, I had some concerns about rubbing on the line. Maybe some others will respond with what they did.
Okay, here are some pics. Sorry, but they are cell phone pics. My wife is out of town and has the camera with her.
I lightly secured the airline to what I believe is the brake line here. It's just tight enough not to move. The last pic shows where it goes to the other side. There is about 3-4 inches of clearance from the exhaust. Not much, but probably enough. I think the instructions say something like 8" minimum. From there it goes above the bracket that holds the spare in place.
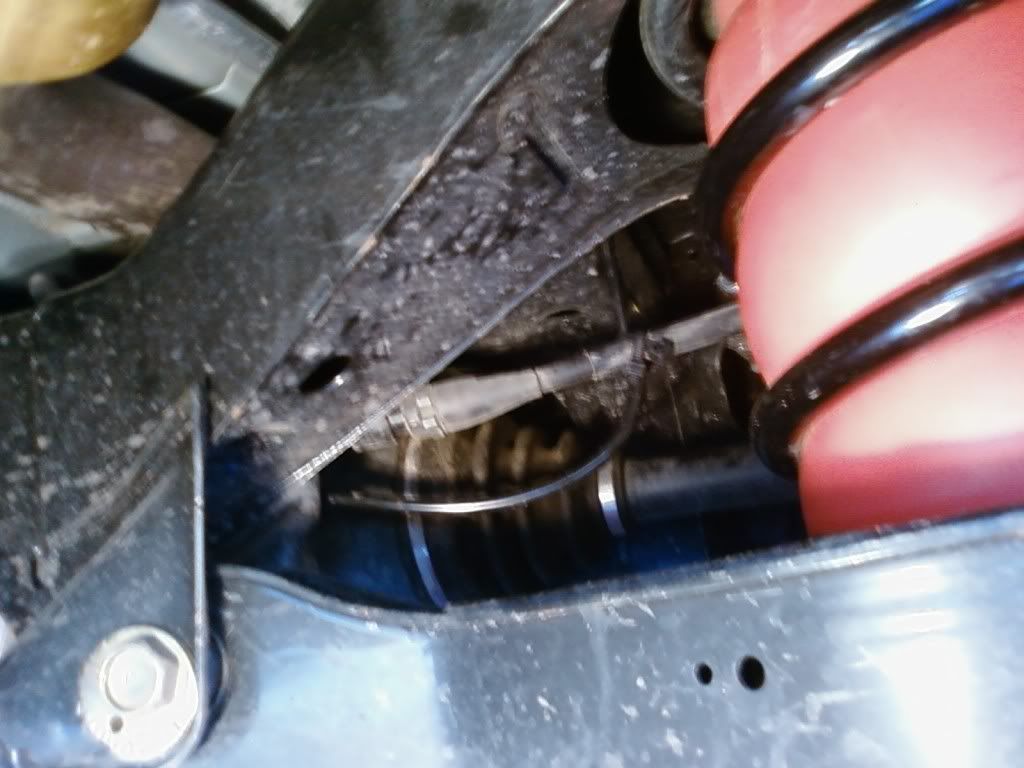
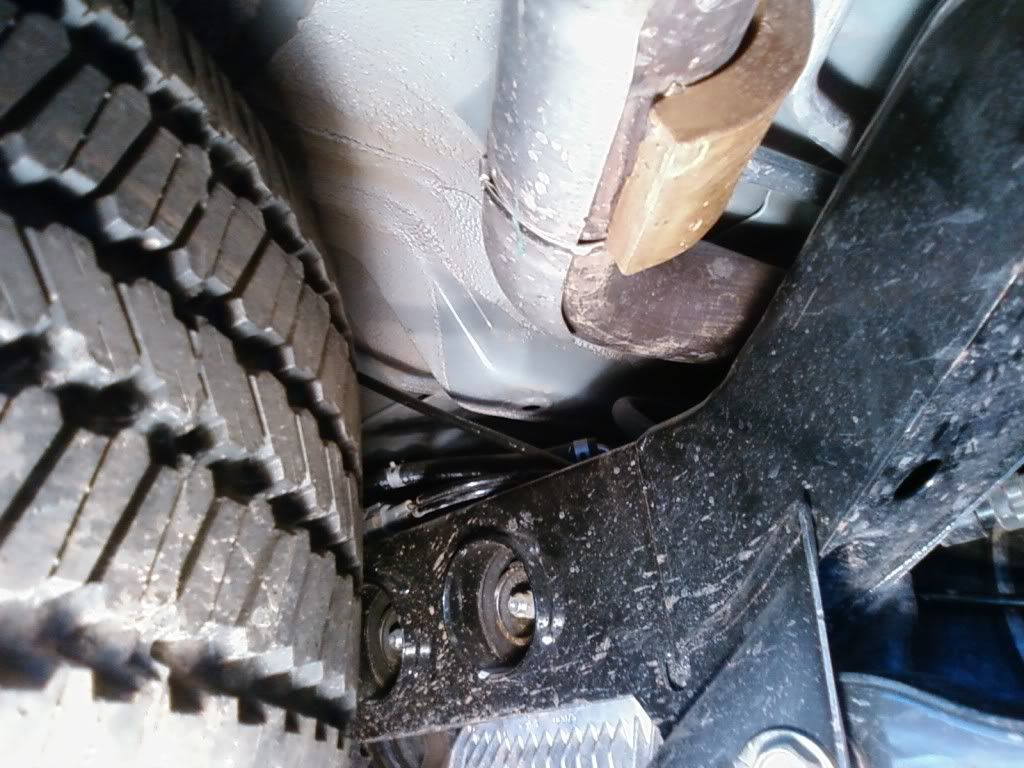

I lightly secured the airline to what I believe is the brake line here. It's just tight enough not to move. The last pic shows where it goes to the other side. There is about 3-4 inches of clearance from the exhaust. Not much, but probably enough. I think the instructions say something like 8" minimum. From there it goes above the bracket that holds the spare in place.
Last edited by AZ_Path on Tue Sep 02, 2014 10:44 am, edited 2 times in total.
Thanks for the pics.
I got mine installed the other day. I ran the valves to the same spot you did, but i did the two separate ones instead of the single valve. I put one on each side.
It was relatively easy to attach the hose to the bag. I had the back of the truck on jack stands to make the springs longer to ease the insertion of the bags. After the bags were inside the springs, i slipped the hose on and the clamp. There was enough height above the bag to do this because of the elongated spring.
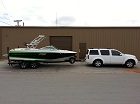
Man, that bumper cover looks bad in this pic! I might need to do something about those scratches from the PO
I got mine installed the other day. I ran the valves to the same spot you did, but i did the two separate ones instead of the single valve. I put one on each side.
It was relatively easy to attach the hose to the bag. I had the back of the truck on jack stands to make the springs longer to ease the insertion of the bags. After the bags were inside the springs, i slipped the hose on and the clamp. There was enough height above the bag to do this because of the elongated spring.
Man, that bumper cover looks bad in this pic! I might need to do something about those scratches from the PO

Find Your Forum!