So after awhile of driving around with a burnt out license plate light bulb I finally got to replacing it.
Now for those of you who have an 05-07 (I believe in 08 Nissan fixed this), you know that in order to replace one stupid bulb you have to completely remove the back panel to get to the four nuts that hold the chrome piece which you have to remove to get to the two screws that hold the lenes in place.
Gawd what an engineering fail!
So since its such a pain imo to replace these I decided to retrofit some high powered leds. That way I will never have to worry about having to replace these again (or at least for another 50,000hrs). Here are some pics of my journey for those curious...
1. Removing the back panel.
-You have 3 screws total, one that is 10mm, and the other two at 7mm. The larger one is located in the handle area (hole where you use to pull down the liftgate) the other two are where the emergency bag is at.

&
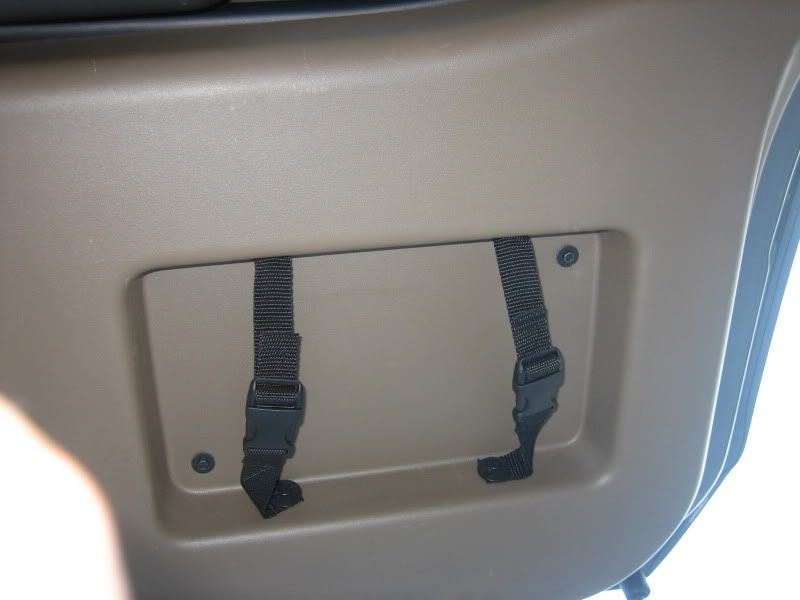
-Once you unscrew those off, you need to carefully pull the panel away from the liftgate. I started from the bottom and worked my way up. After that, you simply pull up on the panel from the top and it comes right off.
***Now the rest of this I didn't take too many photos of so I do apologize. I will try to explain it as best I can.***
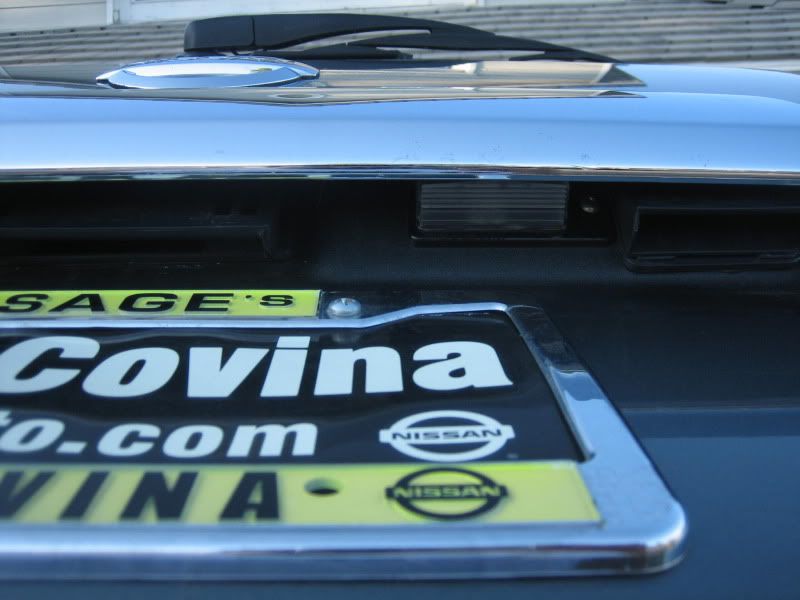
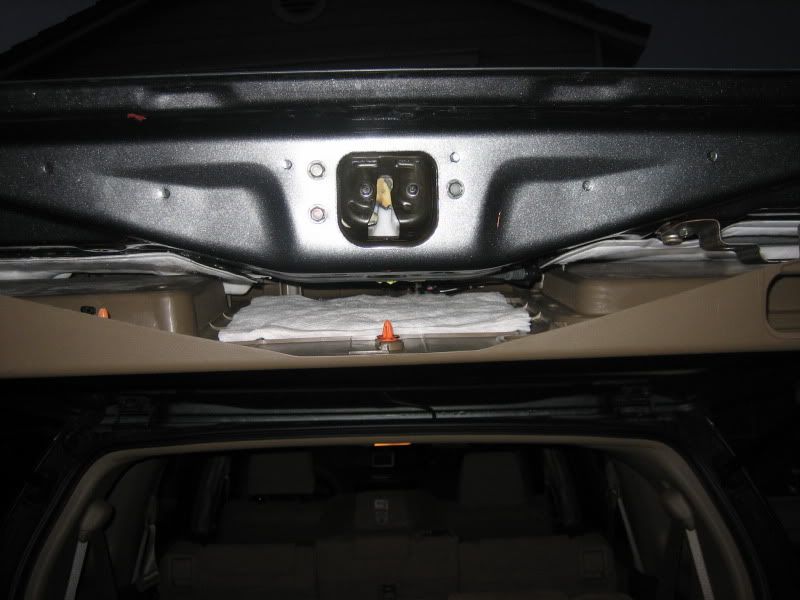
2. Removing the chrome piece.
- The chrome piece is held in place by four bolts, two are clearly visible in the center of the liftgate, the other two or hidden behind the white soundproofing material. Carefully pull that back (I did it in a way where I didn't remove it) so that you can gain access to those last two bolts. Once removed, you can easily pull the piece up away from the liftgate.
3. Removing the lens and inserting the leds. Here is a pic of the lens and the stock bulb in the socket.
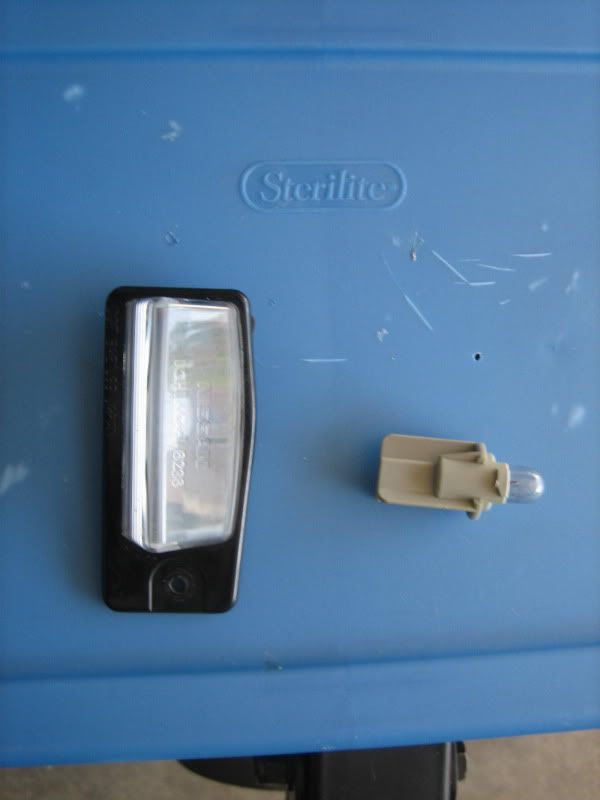
- This is a piece of cake. Simply remove the screws and slide the lenes out.
- Since I was using high powered LEDs I needed to make sure they were heatsinked and since they were heatsinked they wouldn't fit through the stock hole. So I had to literally crack open the lens to gain access. To do this I SLOWLY applied pressure to one side of the lens until I saw an opening. Then I carefully pried it of using a small flat head screw driver, working my way around the lens until it was free. Key word there was SLOWLY.
- Once I got my leds in, I super glued the lens back on the base, the base being the black thing that is was on.
4. Wiring the leds.
- High powered leds needs extra love, so a simple resistor simply will not do. Not to mention the voltage drop on cars fluctuate. So you need to make yourself an LED driver. I made a simple one using an LM317t which you can find at your local Radio Shack. Here is a pic of my complete driver...
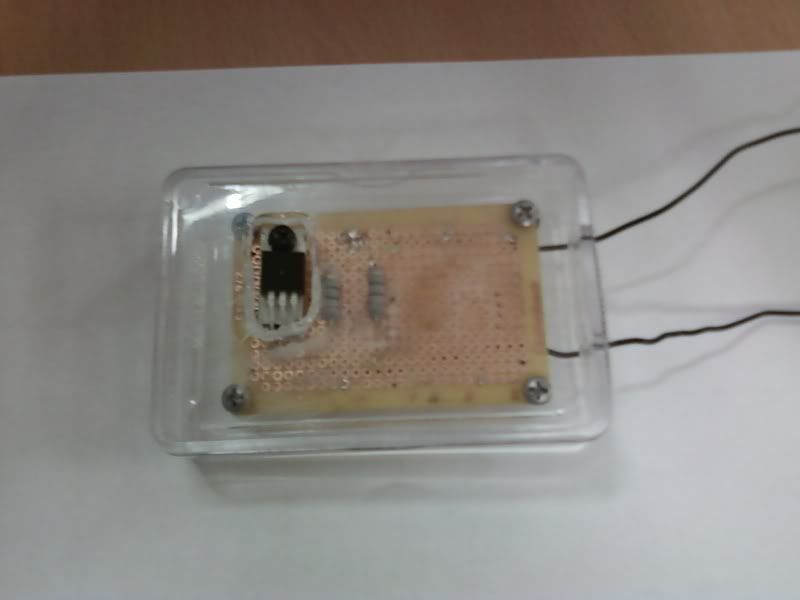
...This one is VERY large and you don't need to make yours this big. I was just using stuff that I had laying around the house.
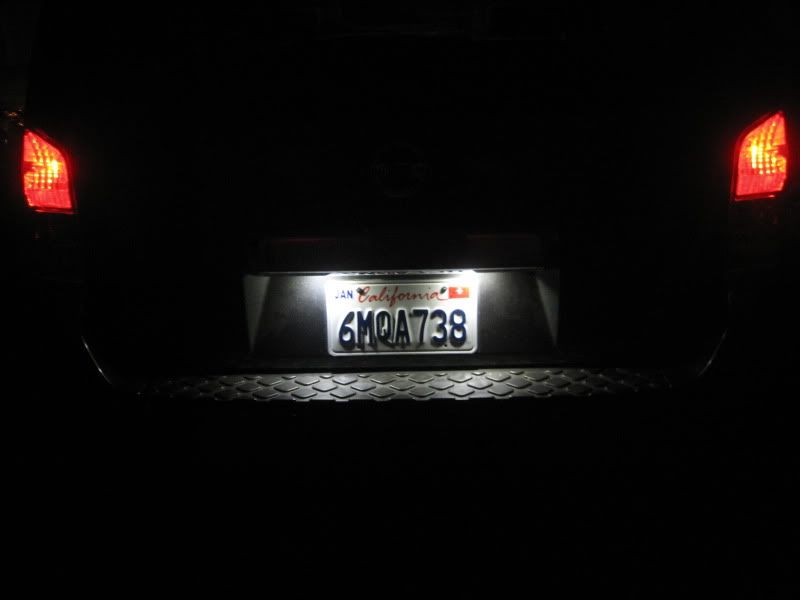
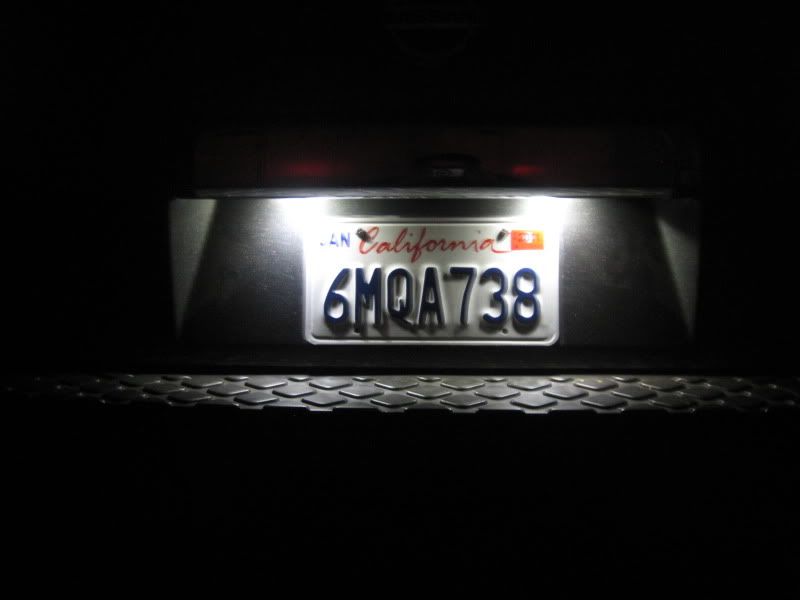
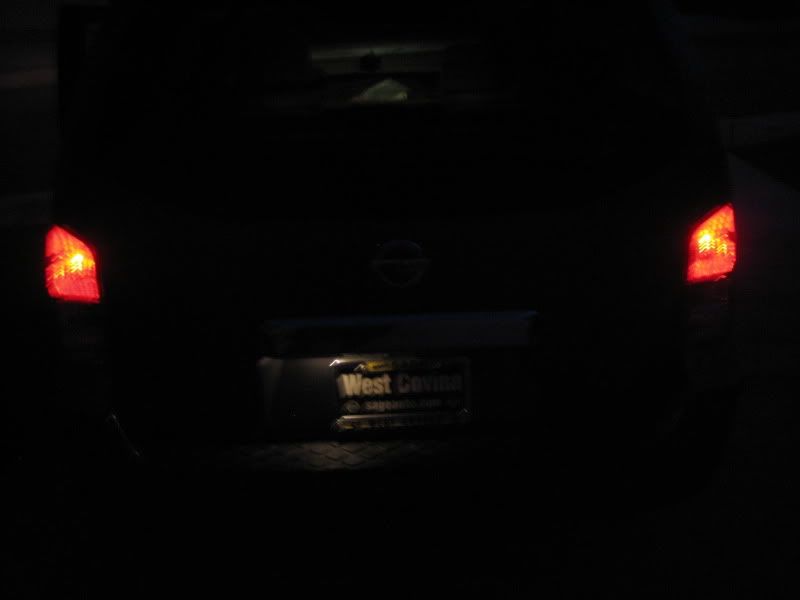
5. Replace everything back in the reverse order and enjoy your new retrofitted license plate lights! Not only will they last longer than stock halogens, they look brighter and better too. Here is a before and after so you can see. BTW, I used 3000k leds to achieve this nice white look.
Before...
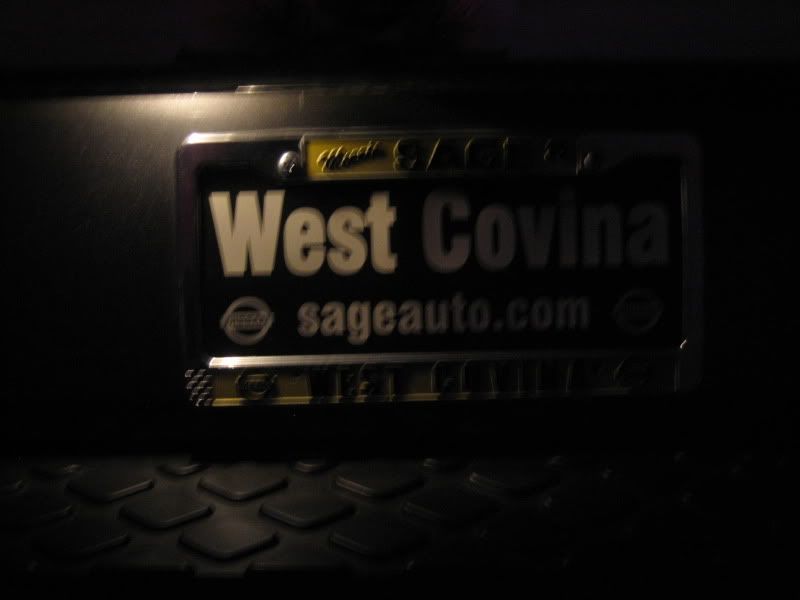
and after...