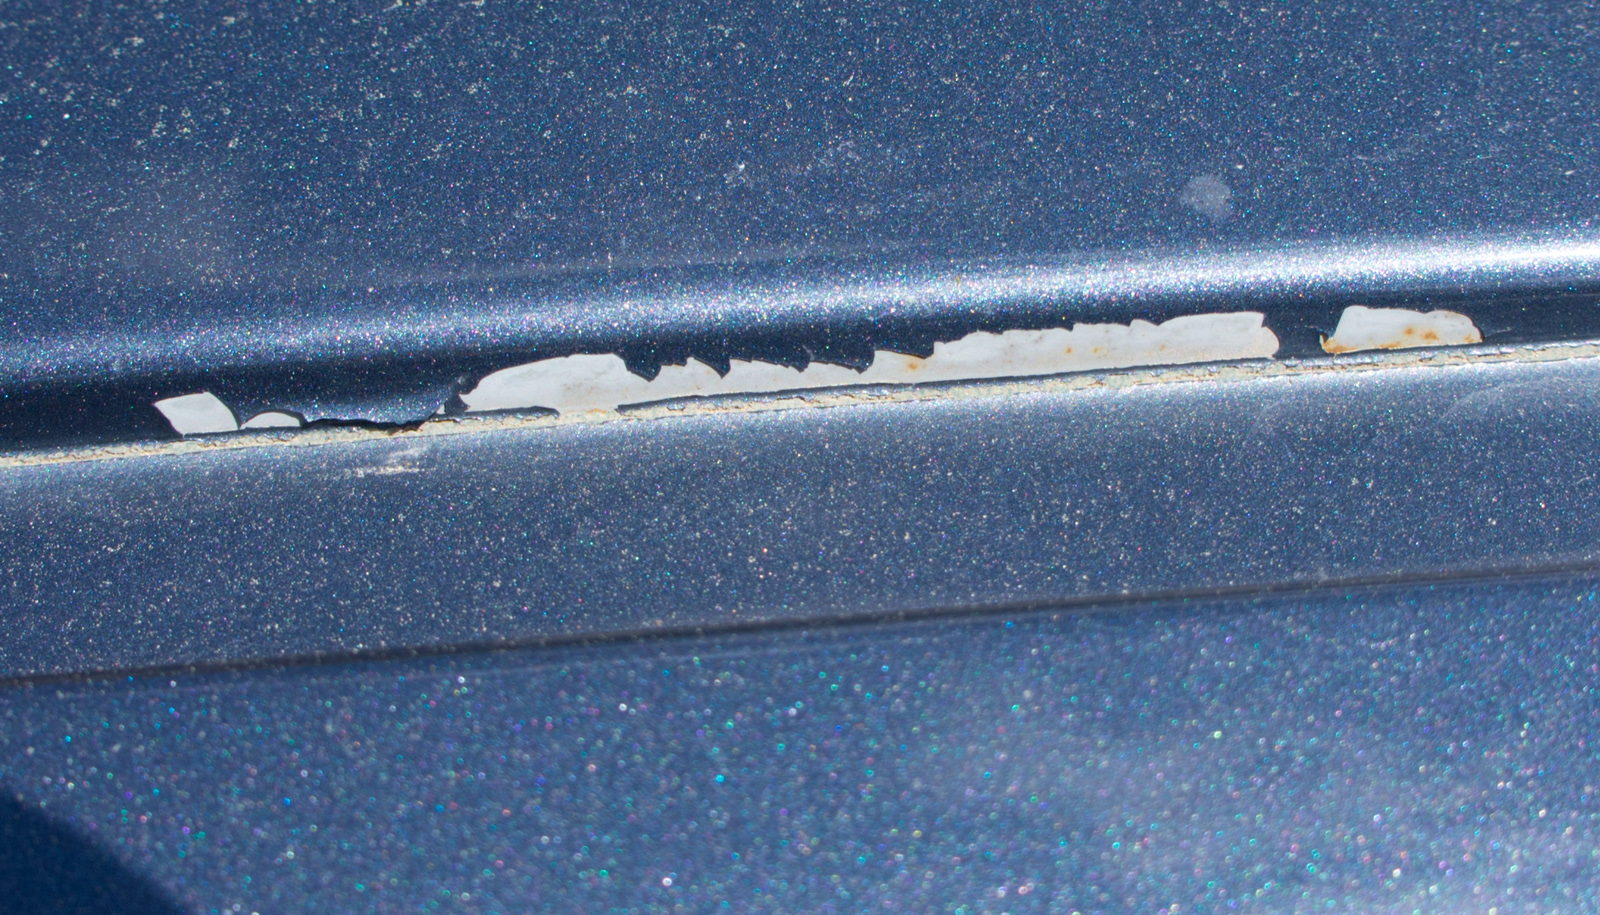
Here are a couple shots from my gutters, which should give you a good idea why I did this mod.
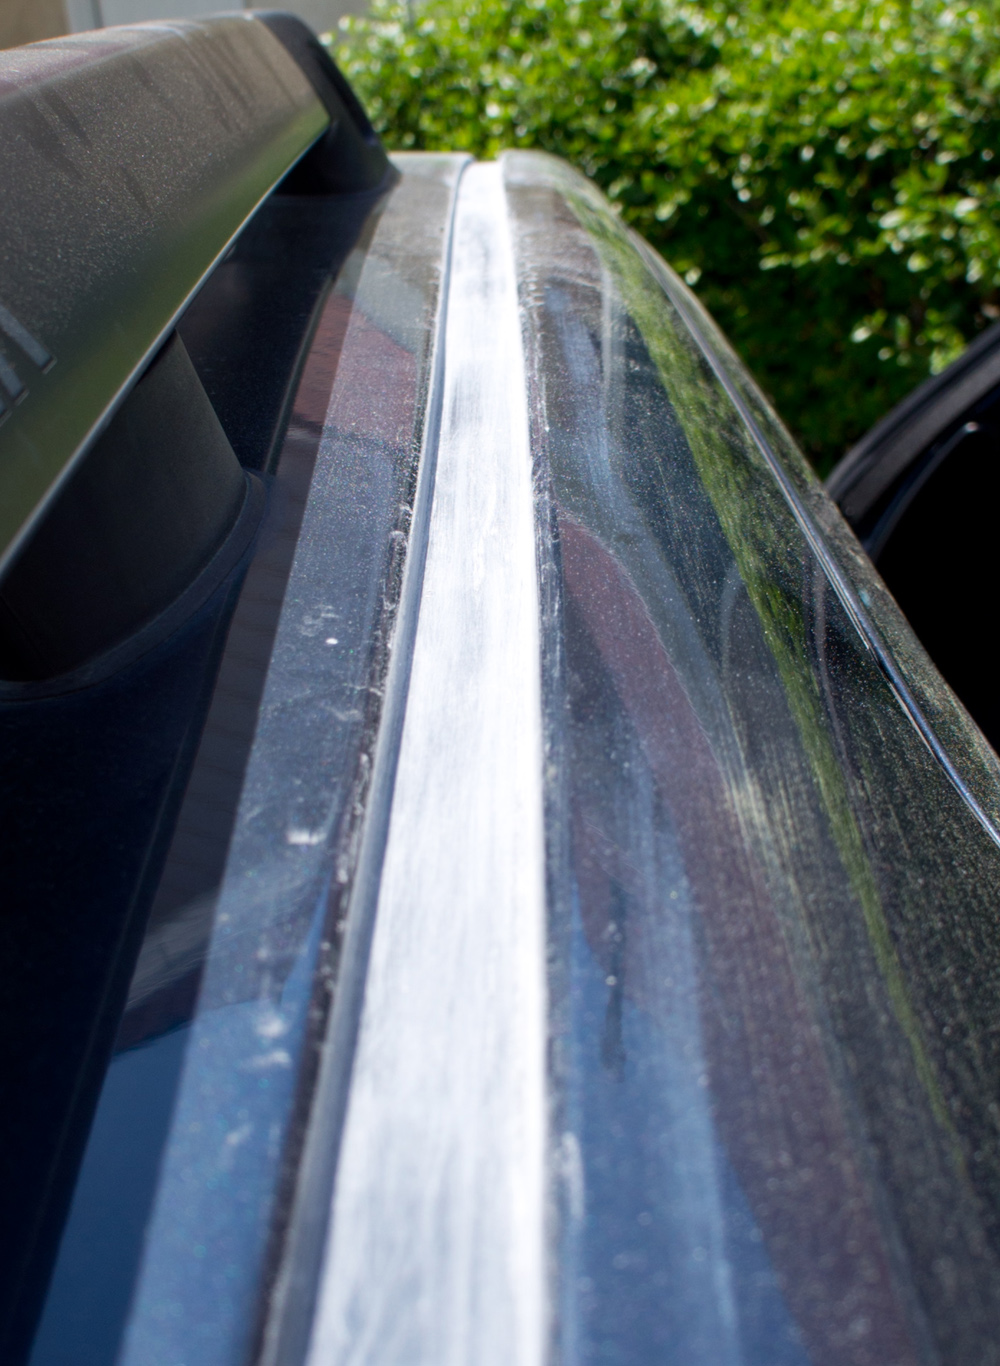
First step was to sand the channels.
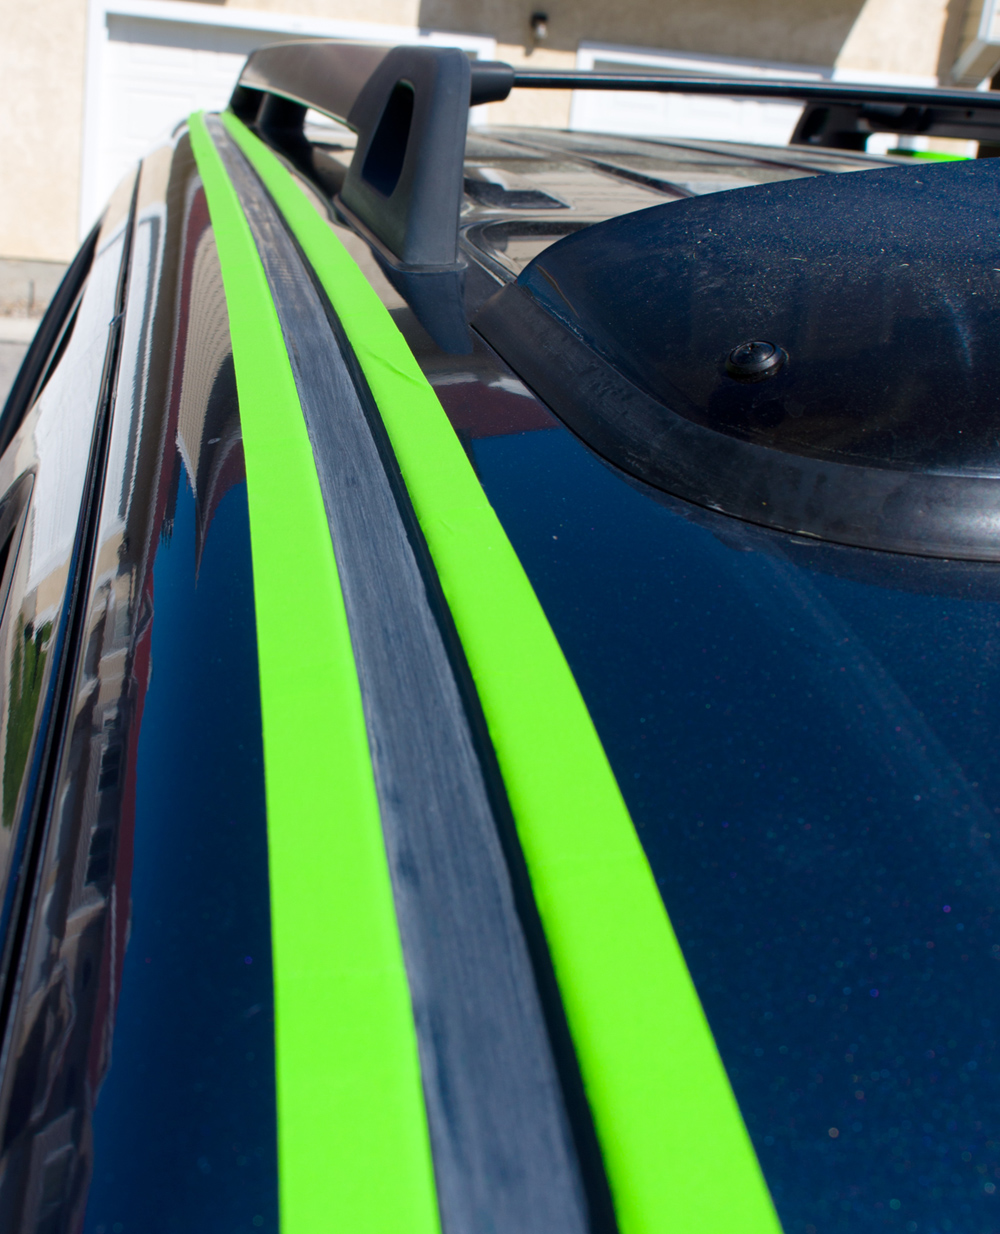
Once they were sanded, I then washed both channels, then applied good old painter's tape.
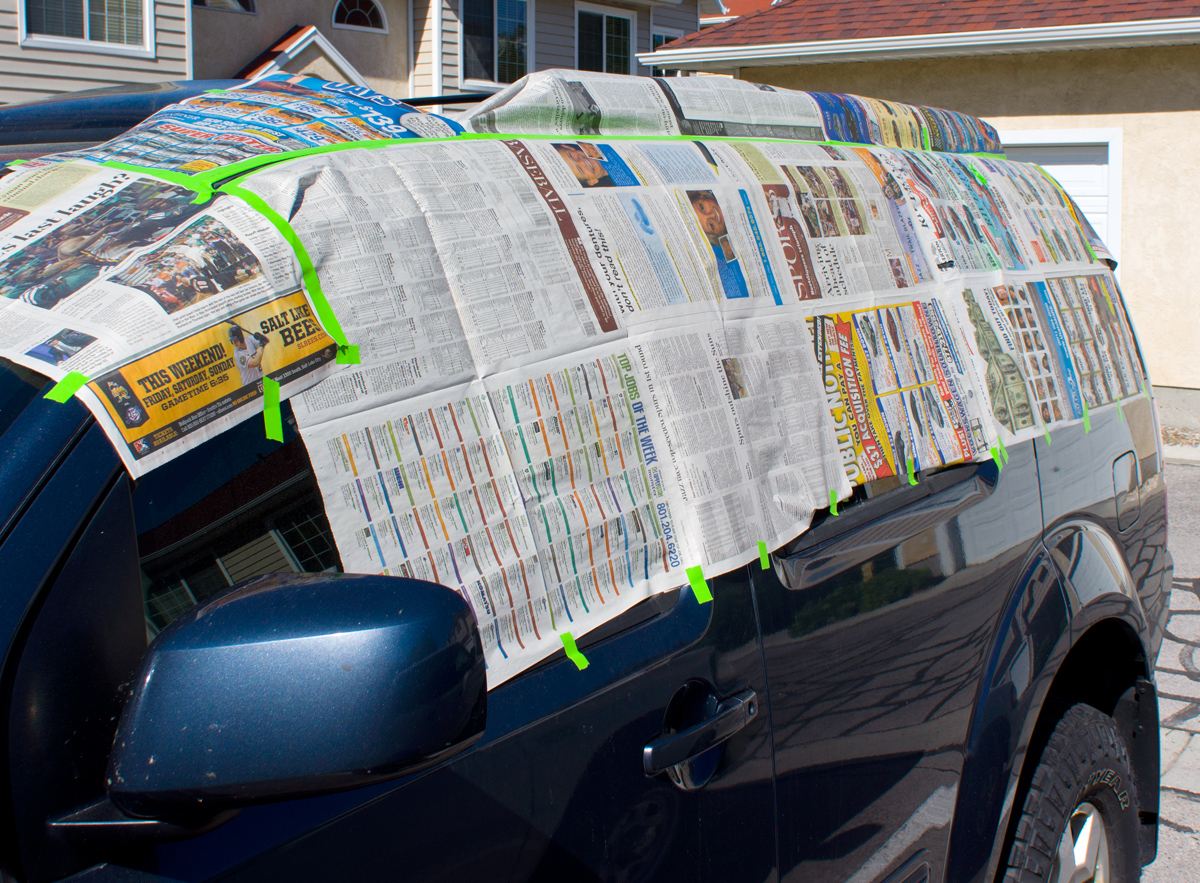
Once I was happy with the tape, I then had to tape a bunch of newspaper extended out from all sides of the channels. Since I was using a spray-on bedliner, the last thing I really wanted was bits of bedliner all over the rest of the paint, windows, etc. Of course it was quite breezy as I was doing this, so battling the wind and newspaper really started to piss me off.
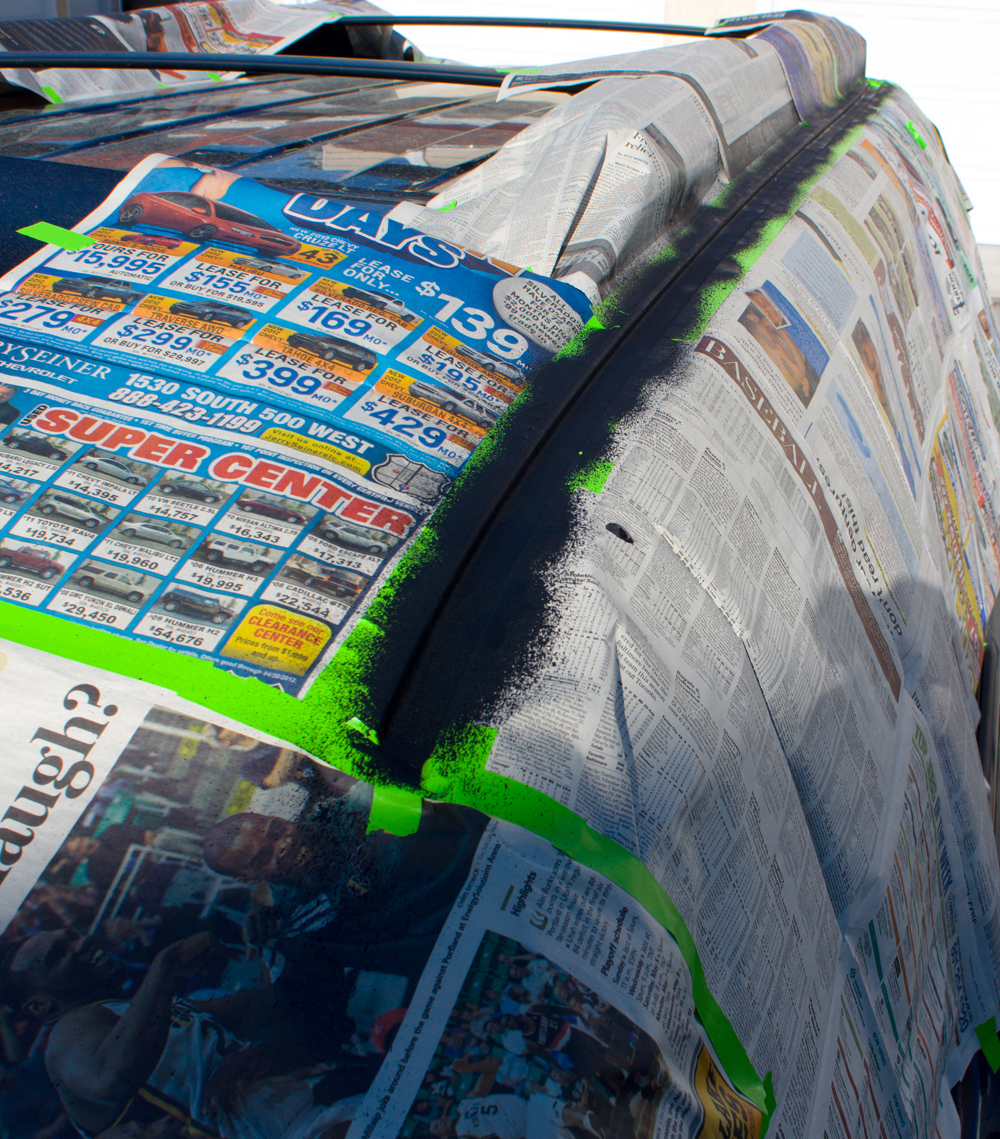
Once I had the paper in place, I sprayed on my first coat. The instructions say to spray at least 12" above whatever is being sprayed, but if I had done that, I would have ended up with bedliner everywhere. Instead, I sprayed it on at a pretty sharp angle (close to horizontal) which gave me about a 10" to 12" spray reach. Once the first layer was on, I waited about 30 minutes & applied another. In all, I put on 5 layers.
And the finished product:

I thought the black would stand out more, but I think it looks pretty nice. I honestly don't care though, as nobody can see that high unless they are pretty damned tall. Not sure how long it will last, but if/when I do this again, I won't be using the spray-on bedliner. After a few hours of multiple coats, pulling the tape off evenly was a bitch. The bedliner has a consistency of stretchy rubber, and the only way to pull the tape off cleanly would be to run a blade along the sides of the channels. I didn't really want to do that, so my edges are not very clean/straight. Next time, I'll use that 3" wide tape and just brush it on. It would take no time at all, and would actually improve the whole application process.