So I just hit 81K and decided to upgrade the radiator, drive belt and tensioner. In case it inspires anyone, I took pictures and thought I'd share some things I learned from the experience.
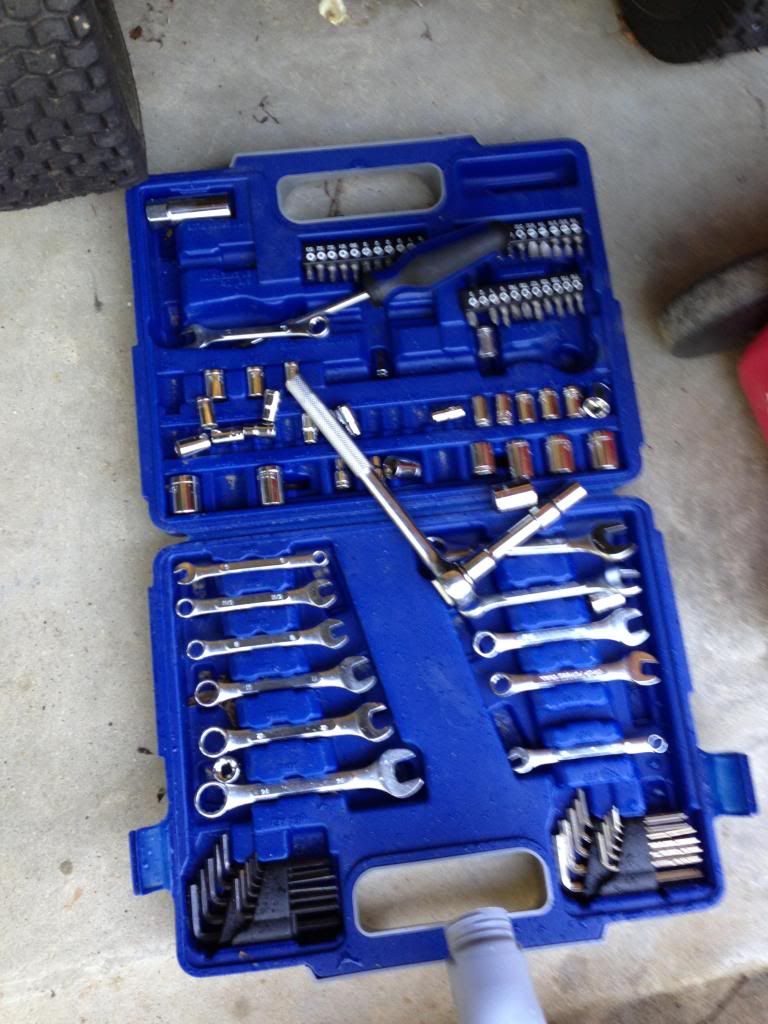
I went to my in-laws' house to do this and forgot my tool box (doh), so I bought a $30 tool kit and plumber's wrench from Walmart. Worked perfectly.
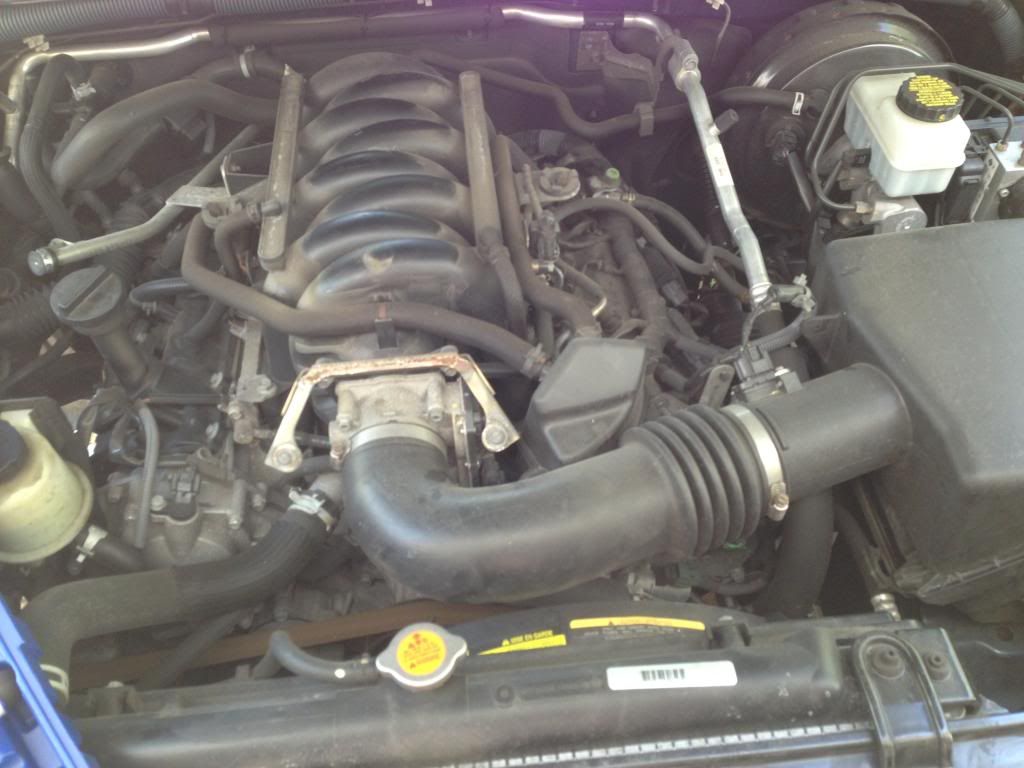
First I removed the engine cover.
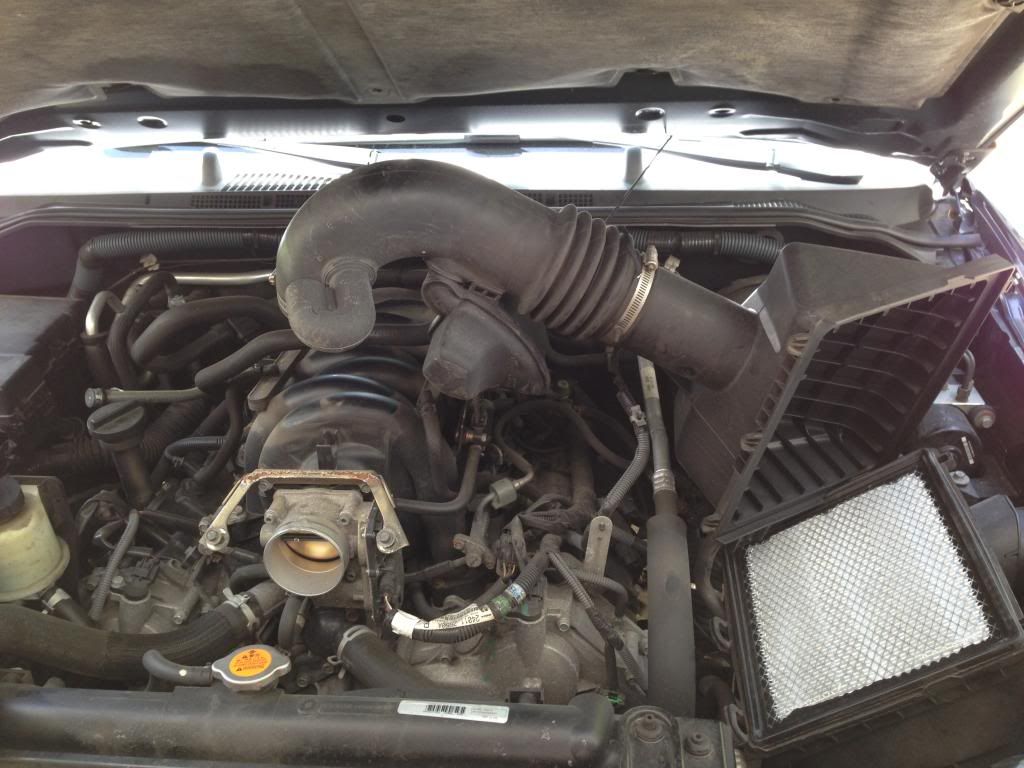
Then I disconnected and tied back the air intake hose.
TIP: You only need to open the box on the right and slip off the hose from the intake (left). For some reason I unscrewed the whole air box and broke a bolt trying to put it back (Nissan makes their bolts from a special metal that's about as hard as a stick of butter).
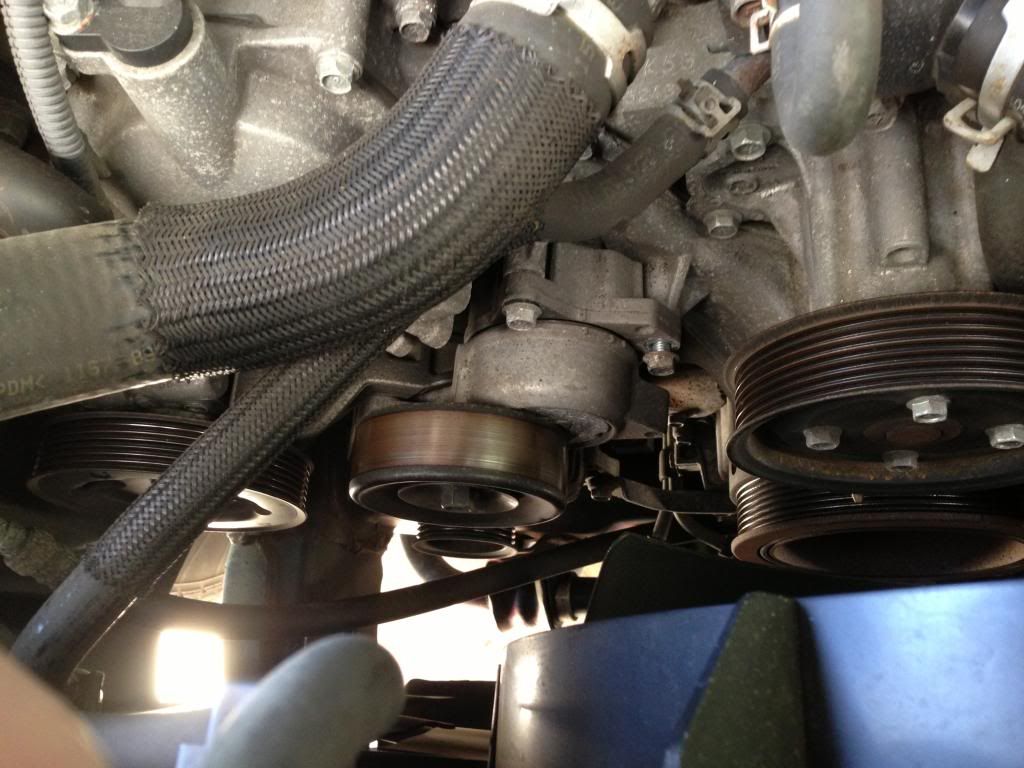
I put a wrench on the tensioner bolt (middle of the picture), turned counter clockwise to release the tension and pulled the belt off (it's already off in the picture).
NOTE: This step is not necessary for radiator replacement; I just did it because it was needed.
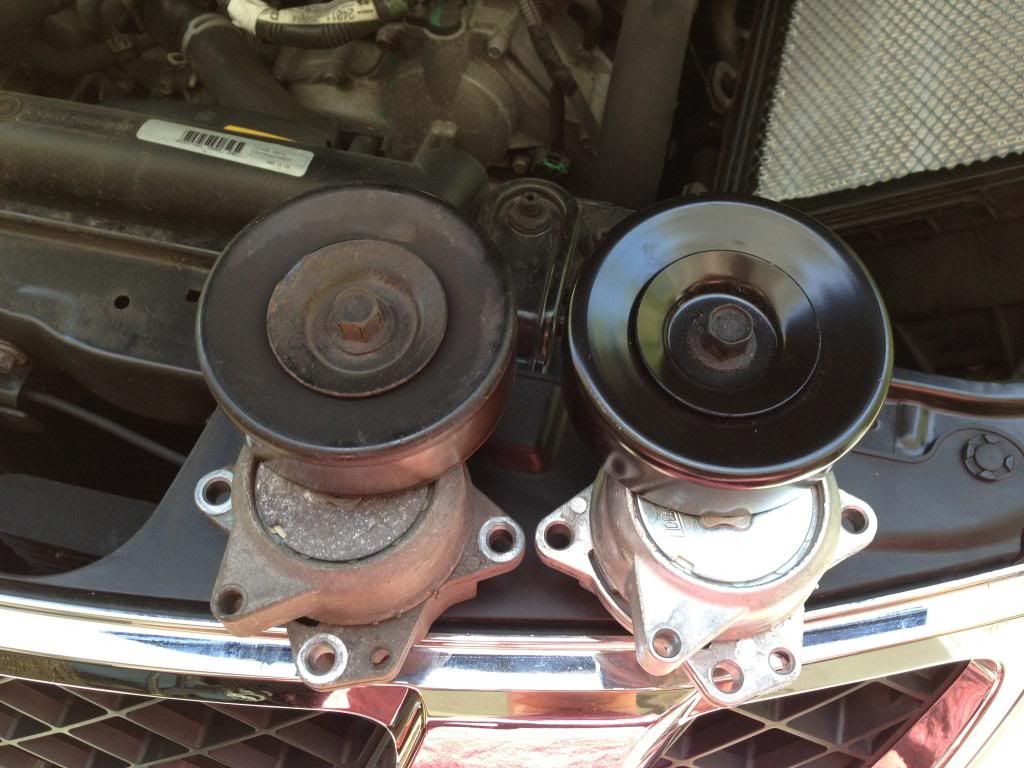
Old tensioner and new. It's only three bolts that should come out easily.
Next I removed the bottom plate to reveal the bottom of the engine. Transmission lines on the right (small ones).
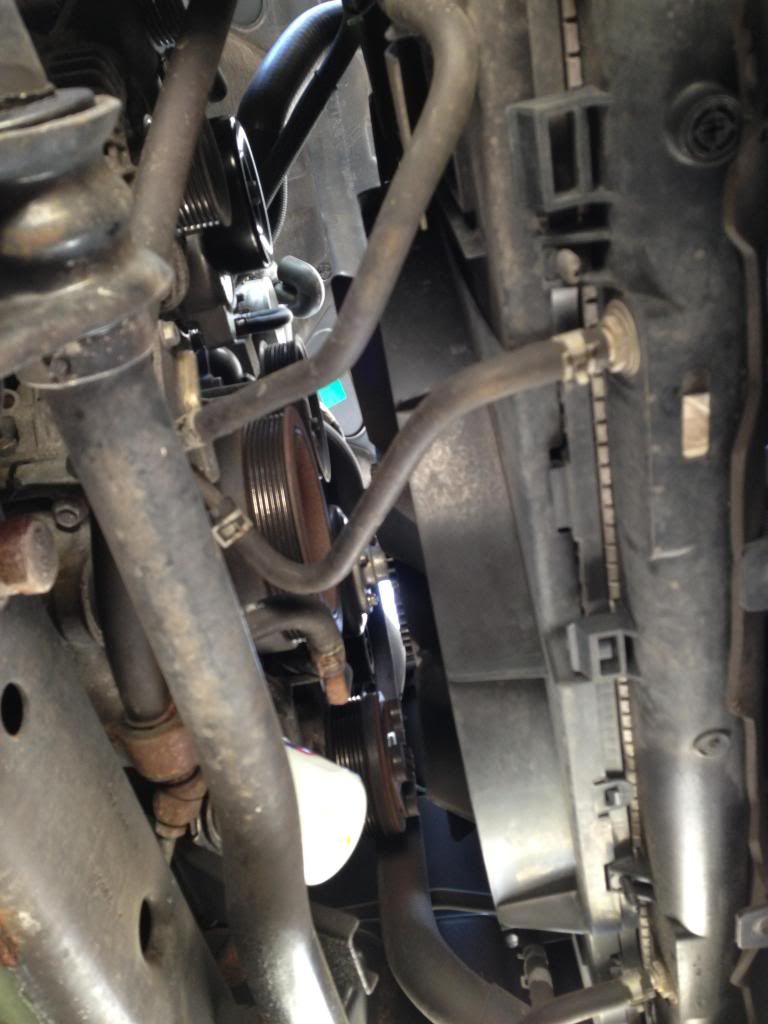
Here's what you see when you look up. Bottom of the radiator is to the right and the drain plug is beautifully out of focus top right.

Open it with a phillips screwdriver.
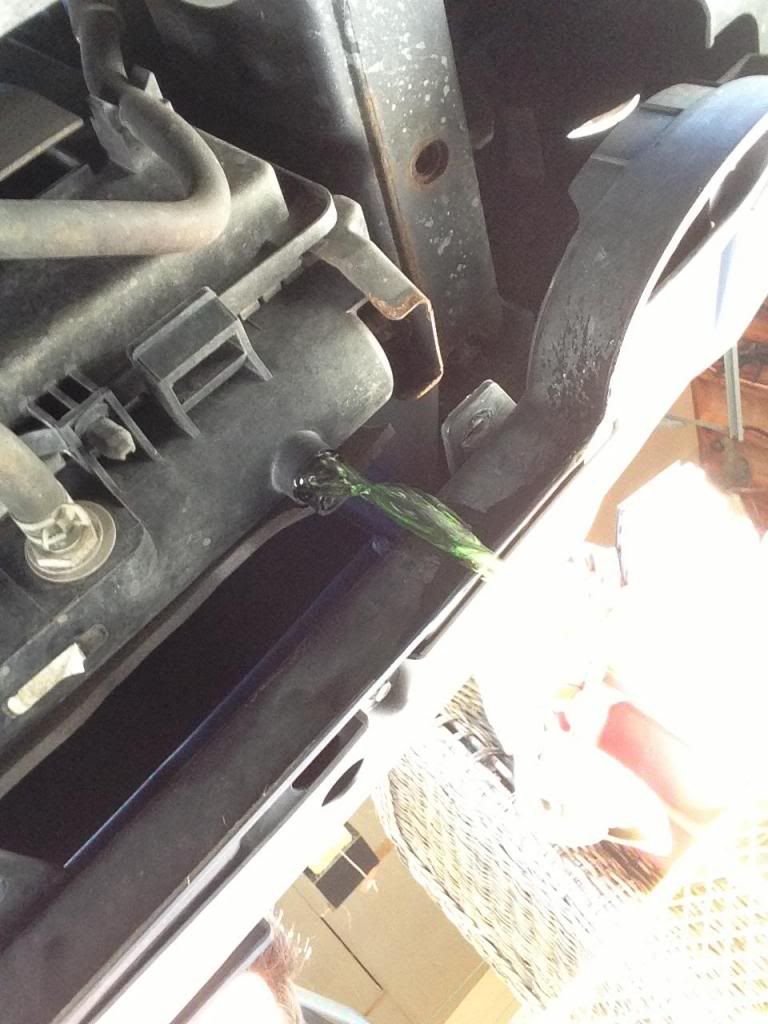
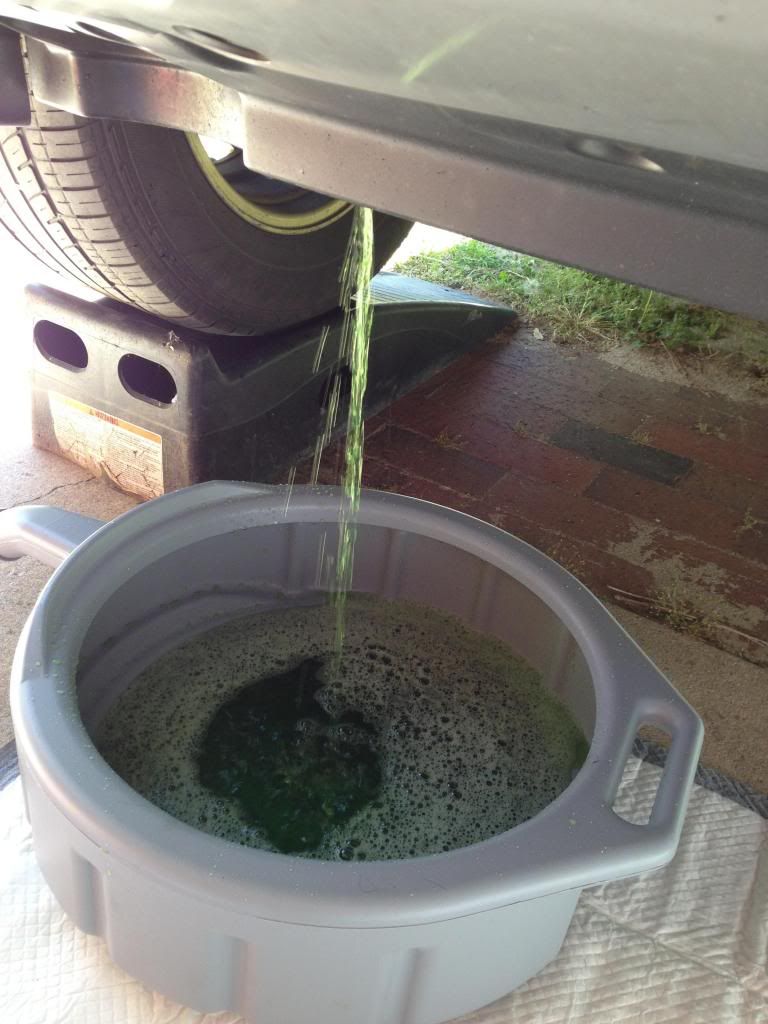
Mine pees like a girl. Not sure how I feel about having seen this but I think it'll make us closer once we work through it.
Next, I disconnected the hoses and removed the air dam (it's that round piece of plastic that protects the fan blades). It's two pieces (upper and lower). You remove the lower portion from underneath, releasing two clips and pulling down. The upper portion pulls straight out through the top.
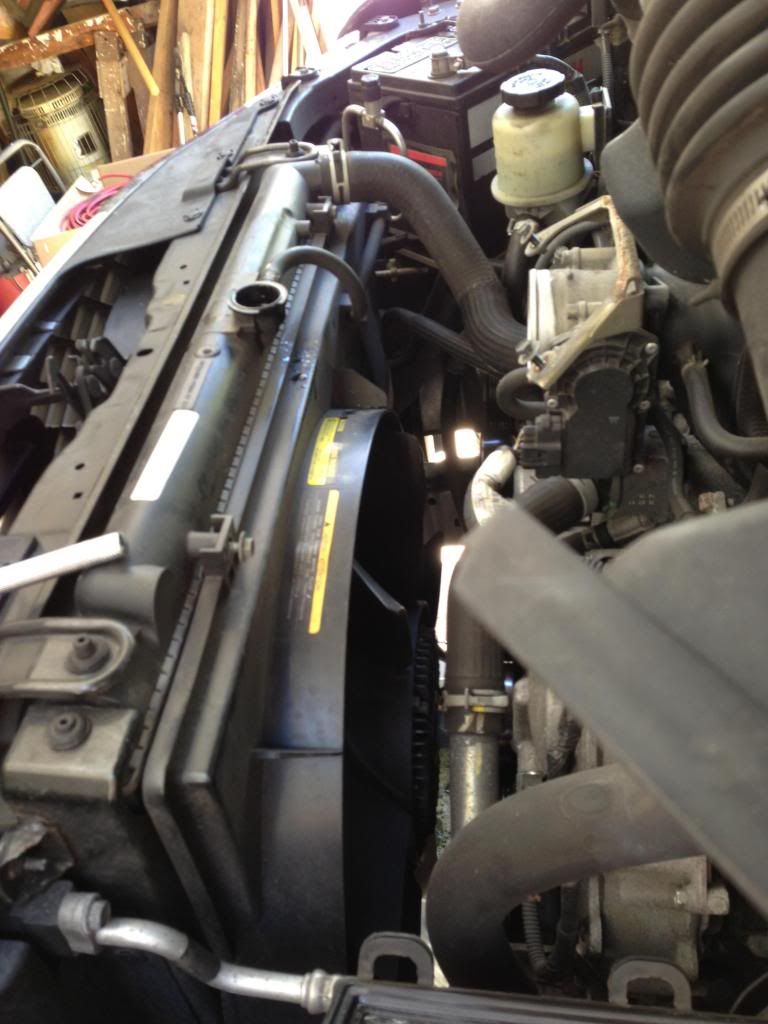
Here they are out. Easy.
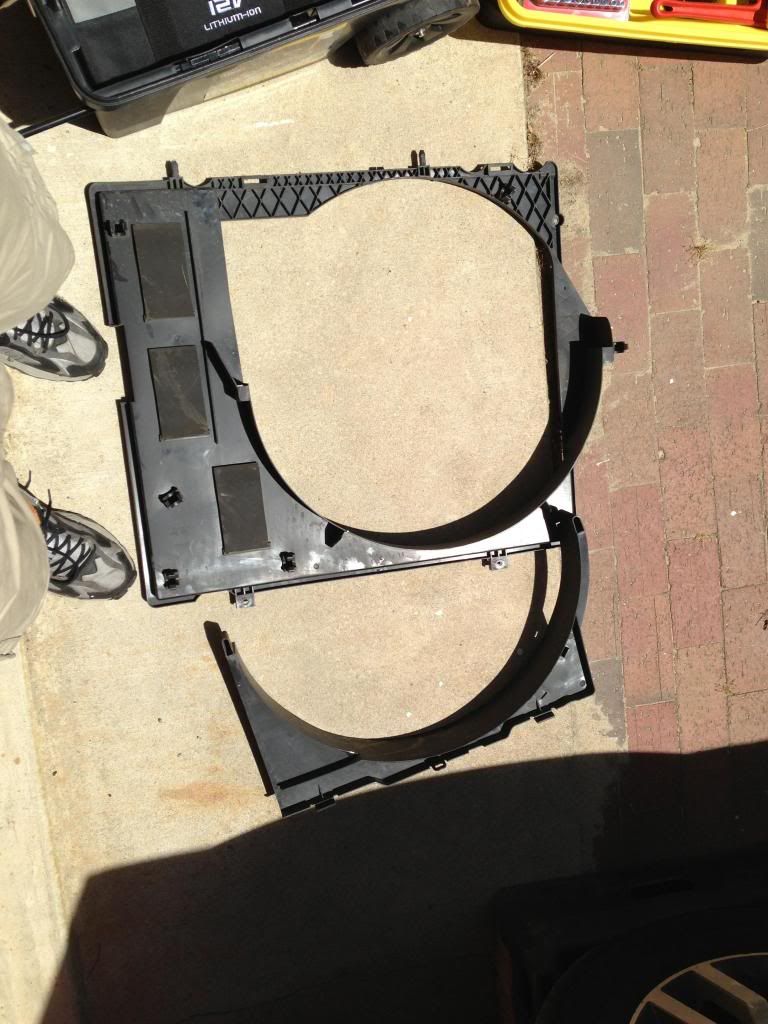
Hoses off and plastic fan thing out.
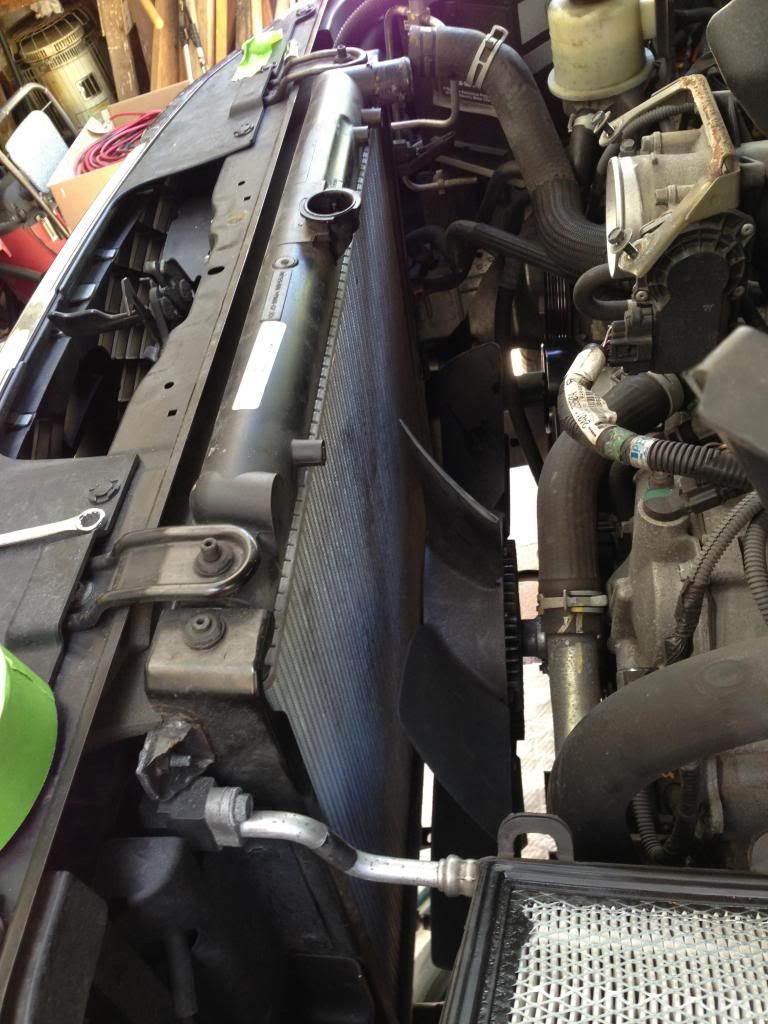
Next I detached the radiator assembly brackets (left), two bolts. The AC condenser is attached to the front of the radiator (toward the front of the car, away from us) piggyback style. The whole assembly now rests on ledges about halfway down the radiator sides (rubber pegs sitting in holes). I just lifted up, tilted rearwards and lowered it.
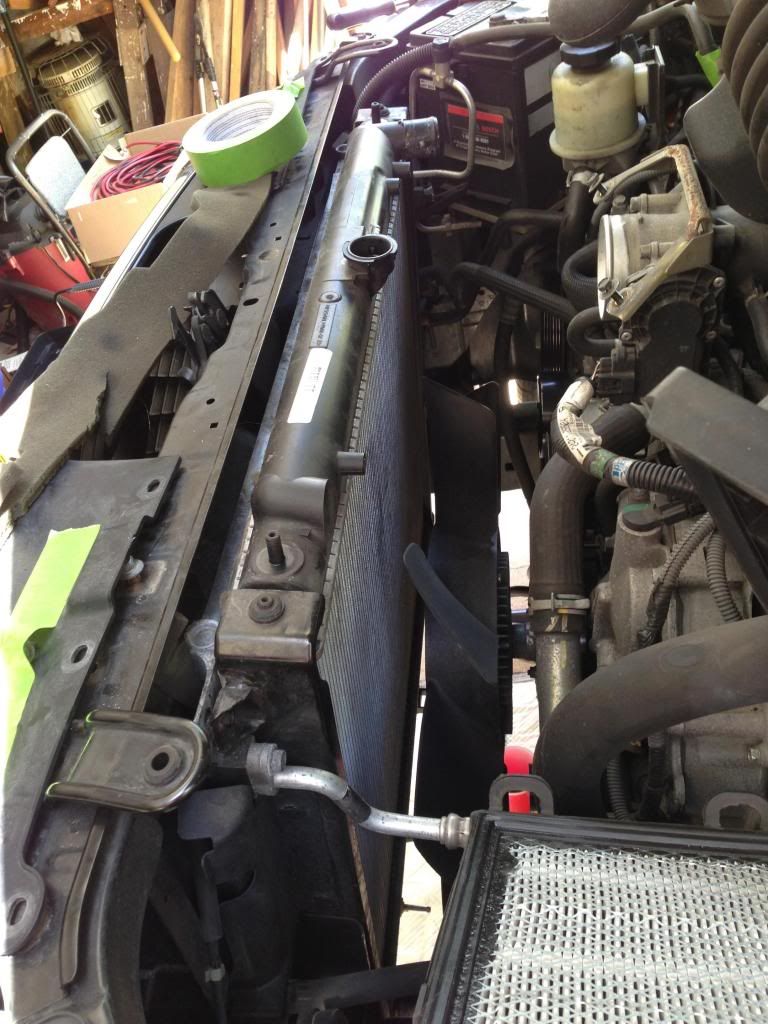
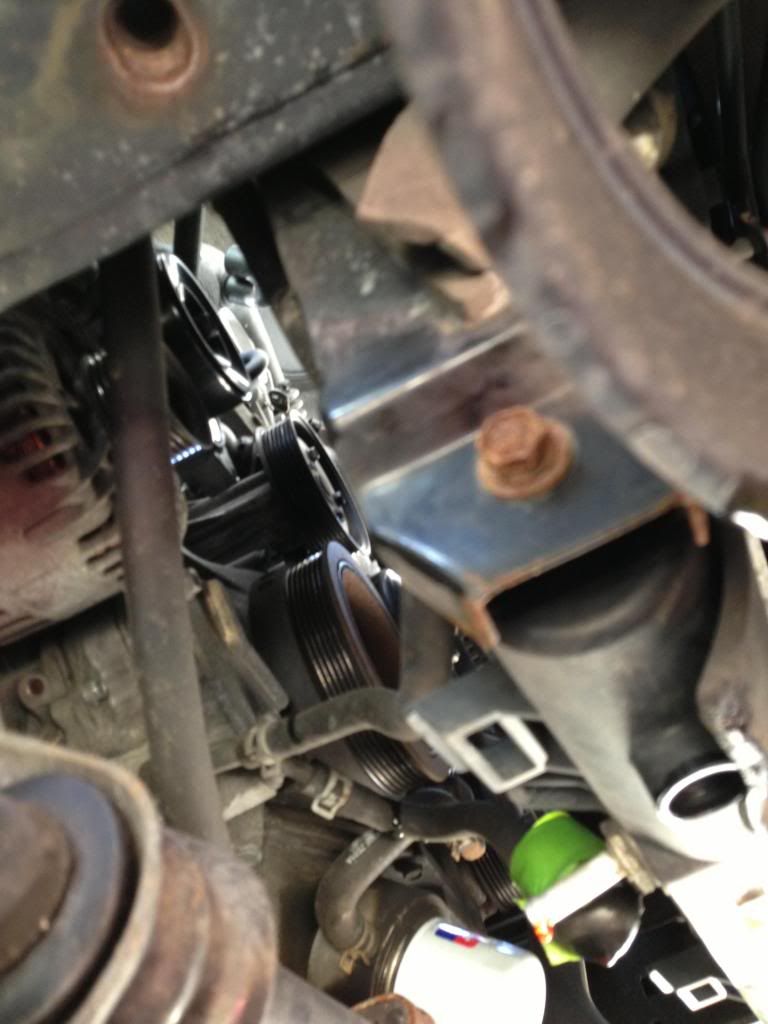
Then I tied the condenser mount to the hood latch to keep the stress off of the AC lines. Then I loosened the radiator from the radiator brackets (one bolt on each side, bottom of the radiator). This picture is from the bottom of the truck and the bolt it the rusty one on the right that's out of focus.
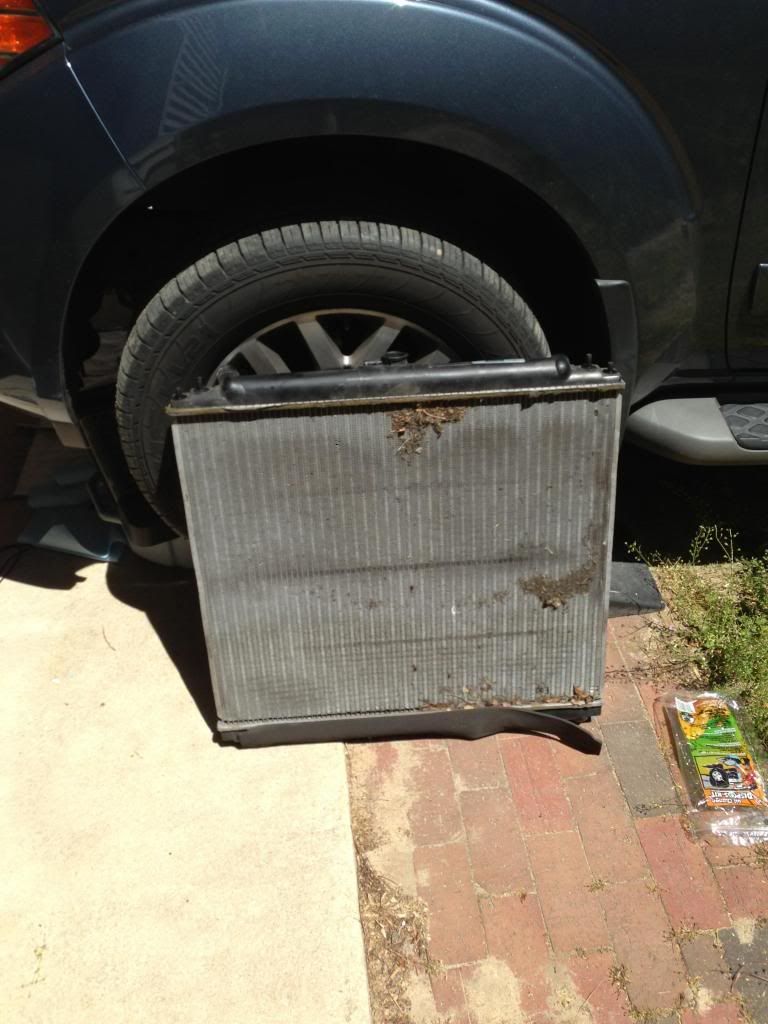
I pulled the side brackets off and lifted the radiator out. Here it is, complete with the remnants of a bee's nest.
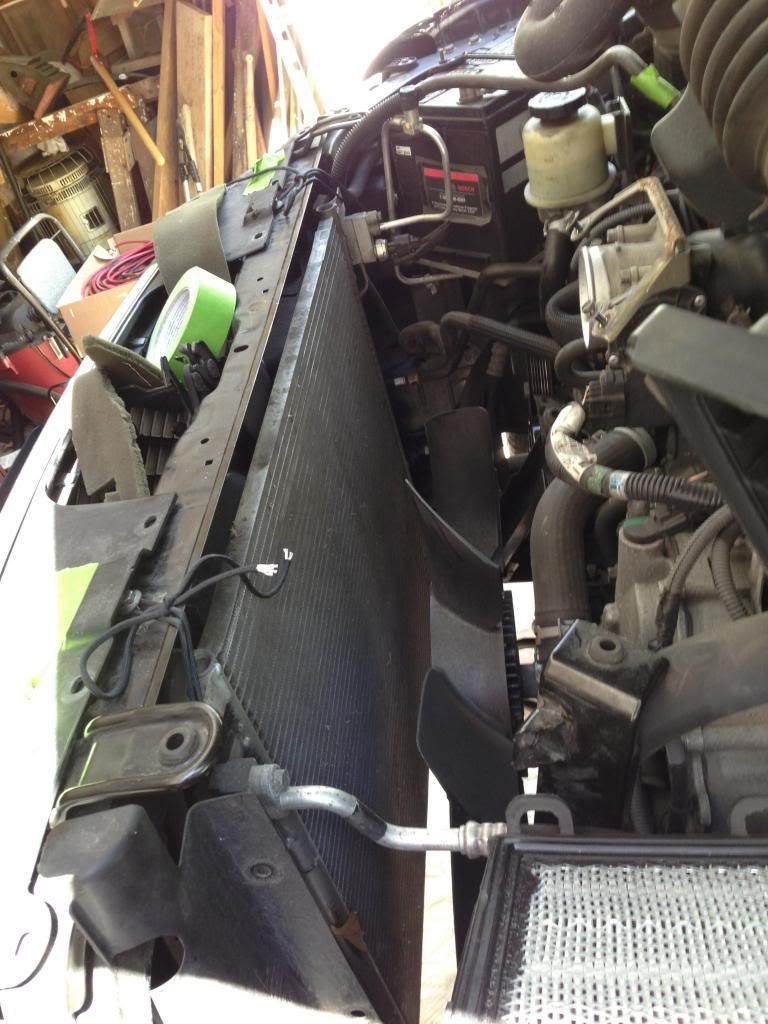
Here is the condenser after the radiator has been pulled out. Note how I tied it up to keep the pressure off of the AC lines.
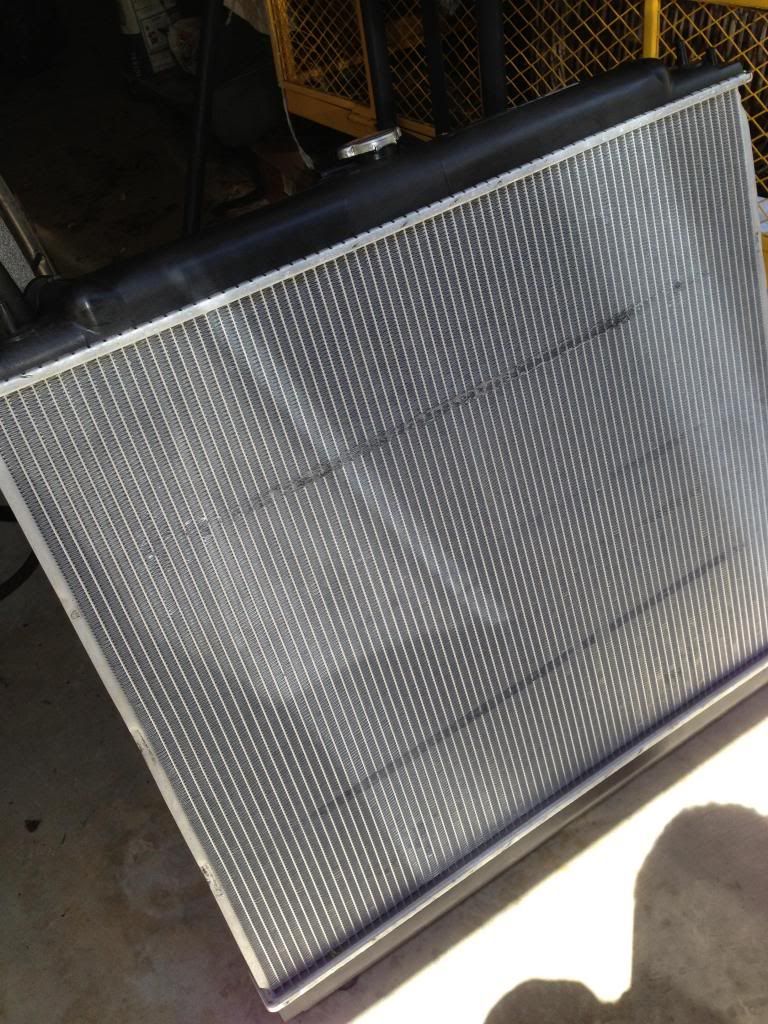
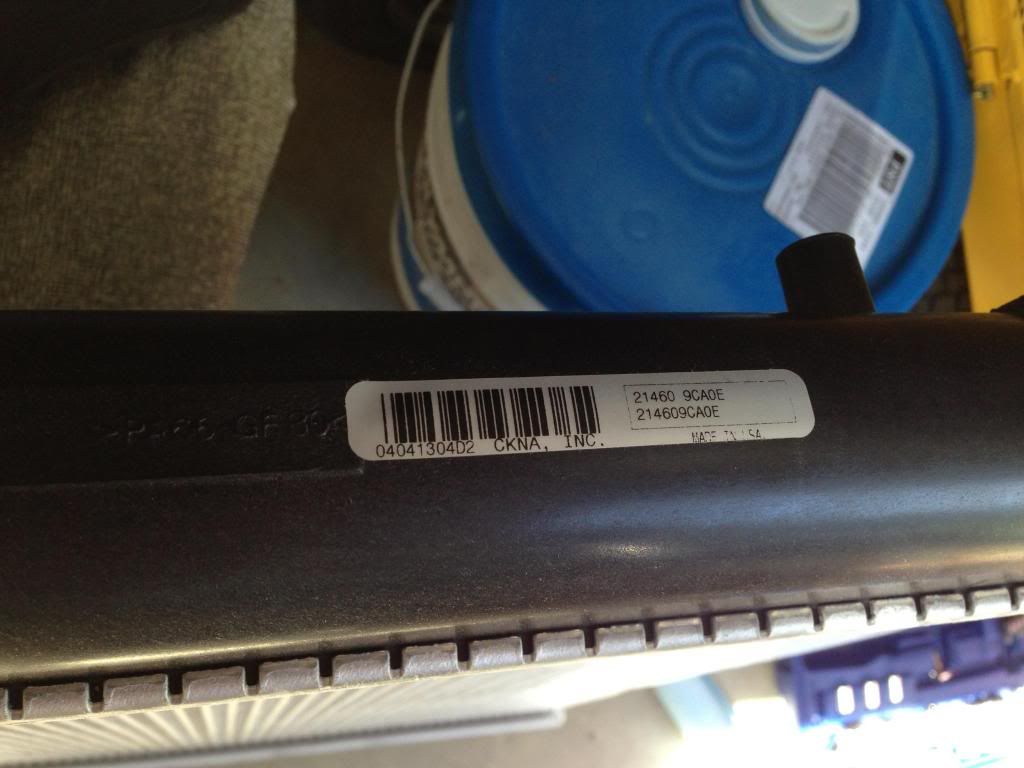
TIP: Before you tear your car apart, check the new radiator to make sure it doesn't have some sort of imperfection. I don't even know what this is. Definitely some manufacturing flaw. I probably would have exchanged it if I hadn't torn everything apart already. Oh well.
Updated model number.
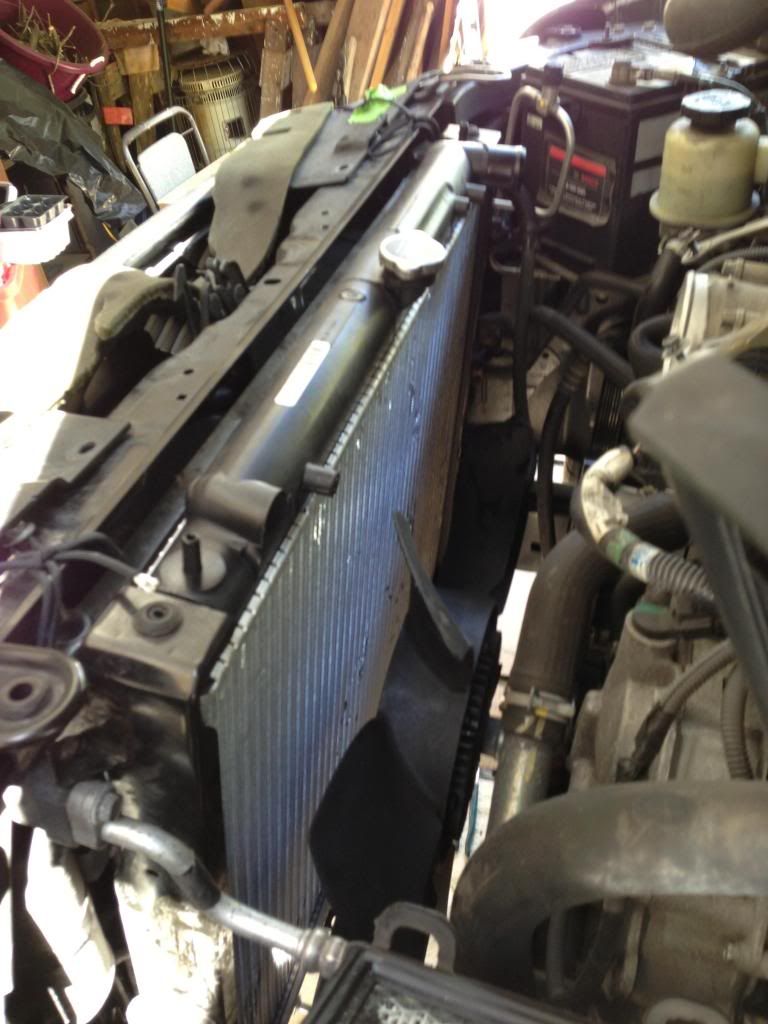
New radiator inserted and radiator assembly reattached.
TIP: I did NOT remove the fan blades and found there to be plenty of room. HOWEVER, I should have covered the backside of the radiator with cardboard while putting it in. I did not do this and scratched the hell out of the back of the new radiator (it's extremely fragile).
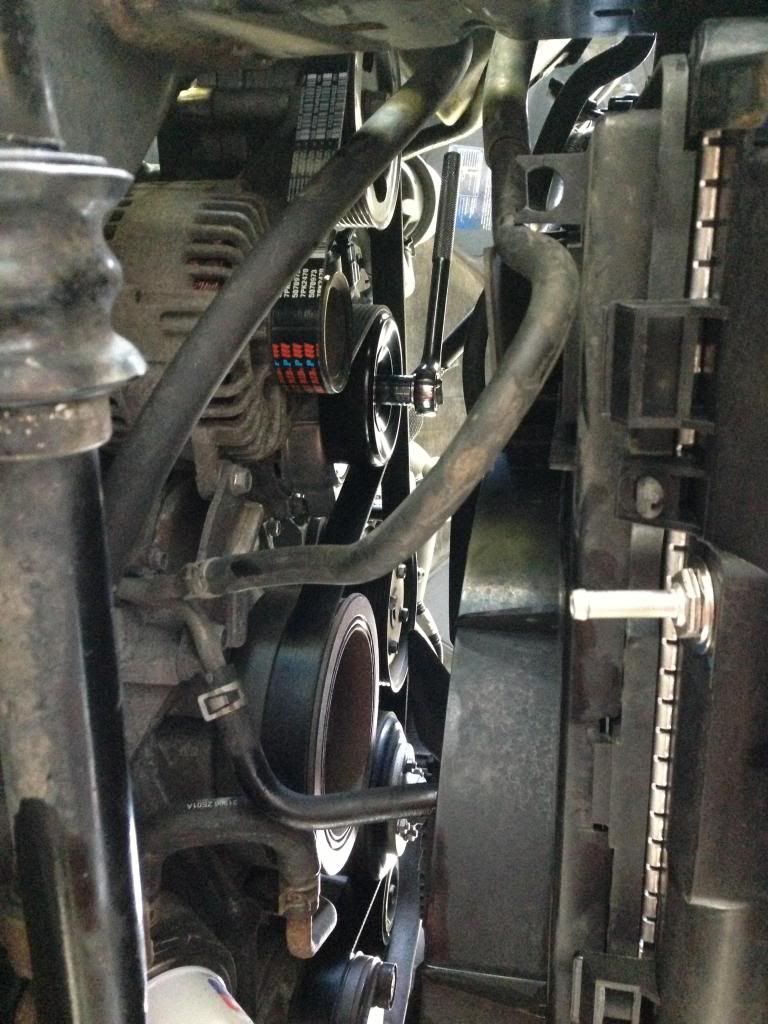
Next I put the fan belt back on (this picture is from the bottom looking up). I had to buy a belt from Advance Auto ($35) because AAANissanParts sent me the wrong one (too short). This one looks all sporty. This took me a full half hour, so prepare your curse words. When you put one side on, the other side comes off. I ended up taping the belt to most of the pulleys and pulling the tensioner from the bottom.
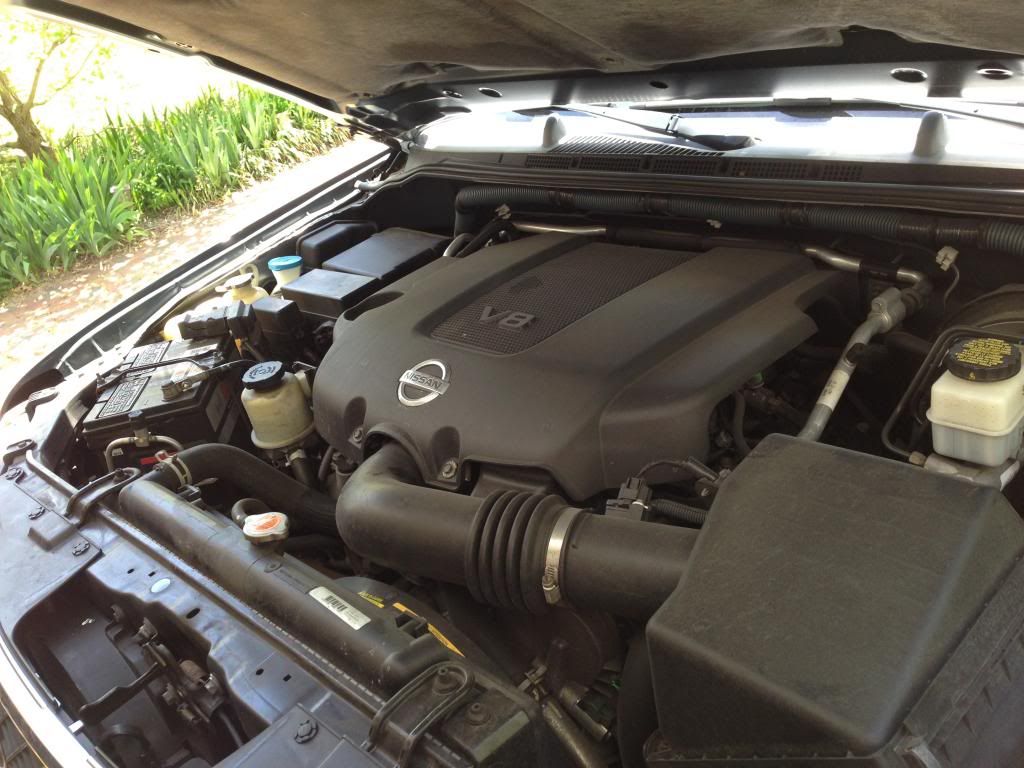
I put it all back together and, with the reservoir also open, poured the coolant into the radiator.
Some tips:
- Though this may seem common sense, don't start the car with the radiator cap off. I did this and gave my engine and garage a coolant bath.
- I'm not sure Nissan really ever made a service manual for the V8, as everything in this one needed to be adapted. Pictures were off and parts diagrams were for the V6. Get ready to do some common sense adaptation.
- The whole thing took me about 3 hours -- mainly because of the belt "wrangling" and the fact that I removed the whole air box, which does not need to come out. I also burned time trying to figure out how to get the fan blades off. I gave up when I realized putting them back on was going to be a nightmare.
- If you decide to leave the fan blades in, cover the rear of the new radiator with cardboard to keep from scratching it. The radiator fins are super fragile.
- There are foam things that go between the radiator and the condenser (thin strips of insulation like what you get with a house window AC unit to insulate the window gap); don't forget to put them back in. I'm not sure what purpose they serve but, after putting everything back together, I realized I left them out.
- Be super careful when removing and replacing bolts/clips because they break much easier than on any other car I've ever experienced.
All in all, this was one of the easier DIY jobs.

