1. It has easily the highest weight capacity of anything available for your PF. 300+ lbs. (thoroughly tested)
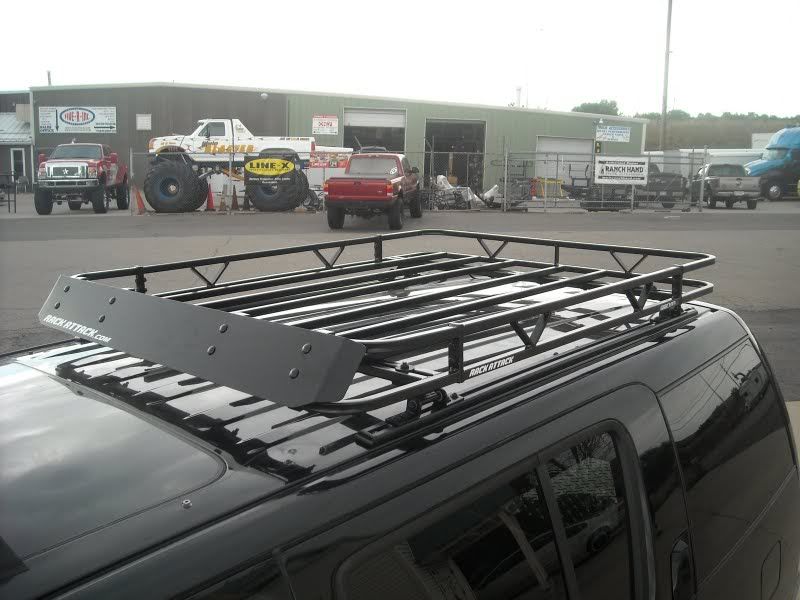
2. It's a lot lower on the roof vs. most popular baskets (Yak Load Warrior and Thule MOAB). The total height of the system is only 6.5 inches from the paint up.
3. It's rated for off-road use. Thule and Yakima warn against using their products off-road and won't warrant against any damage sustained from said use.
OK, on with the show. I hope this helps some of the more adventurous DIYers in the forum. Sorry I didn't document the removal process for all the factory equipment. I did that a week prior and didn't even think to take any pictures.
Start by assembling the basket and installing all accessories BEFORE you put the basket on the roof. The supplied instructions are more than sufficient so I won't elaborate on that process. Next, measure and mark your first track holes...
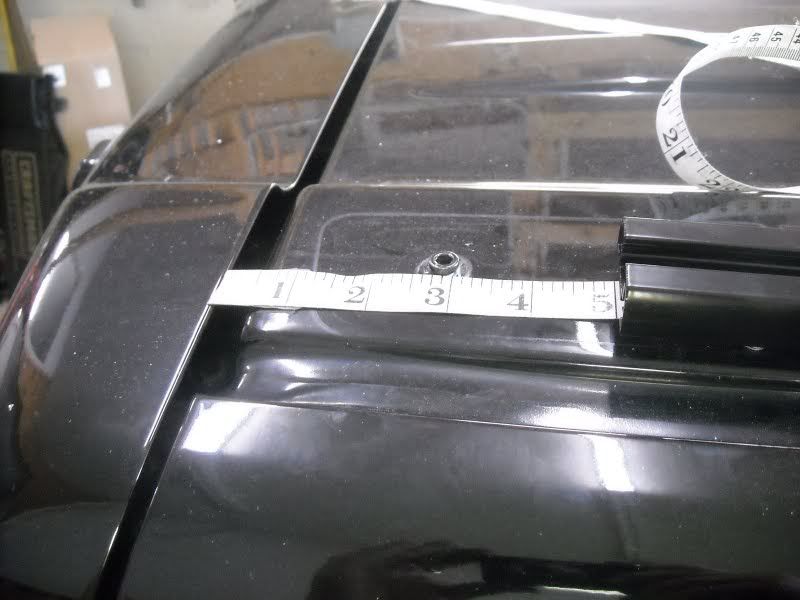
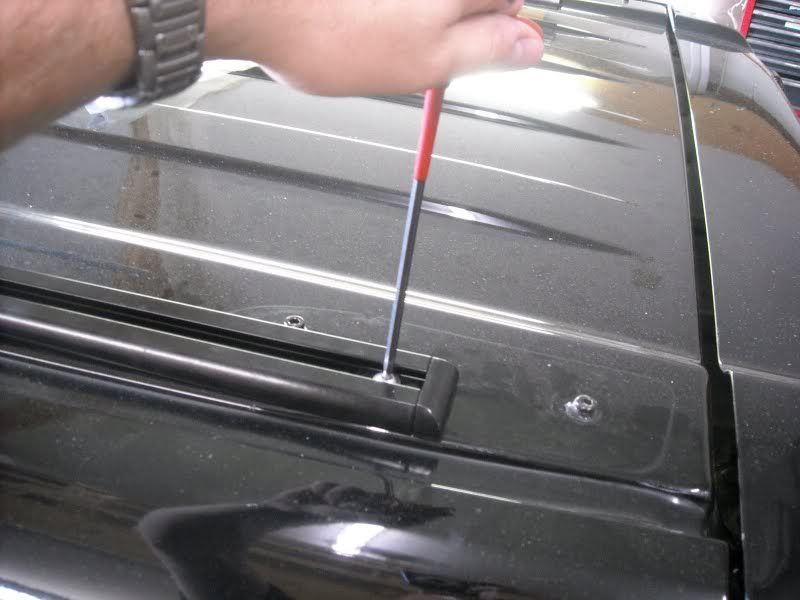
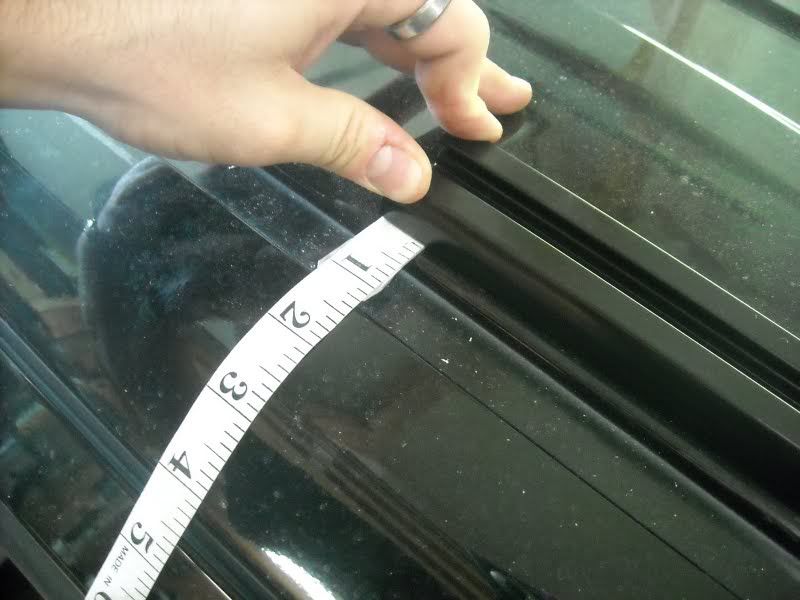
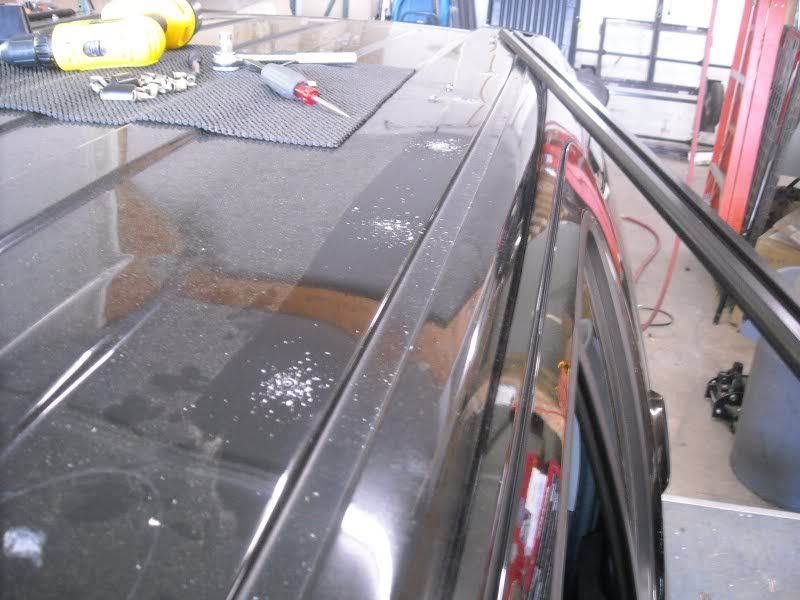
Starting at the rear of the roof, place the track on the roof and measure forward from the front/upper edge of the hatch to the rear end of the track. I recommend putting the track 5 inches from the hatch. Make sure to keep the track just to the inside of the rain gutter on the roof. You will run the track over one of the factory rack mounting holes to achieve this placement. Just seal it with silicone before you lay the track down.
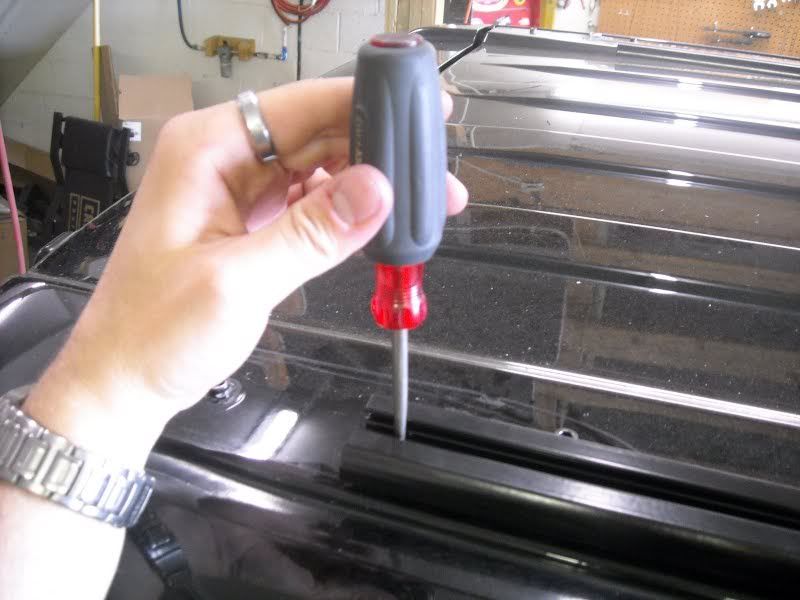
Now mark your first hole with a center punch. Just keep the track right where you measured and drop the punch into the hole in the track. Make sure to dimple th roof slightly to keep your drill bit from wandering all over your roof.
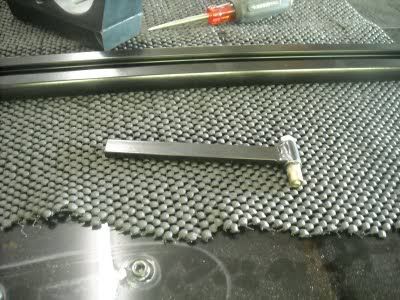
Using a small pilot bit first and the full size bit second, drill your first holes on both sides of the roof. Then using the supplied rivnut tool, insert your rivnuts and expand them by hand tightening the bolt on top of the tool.
Don't foget the silicone.
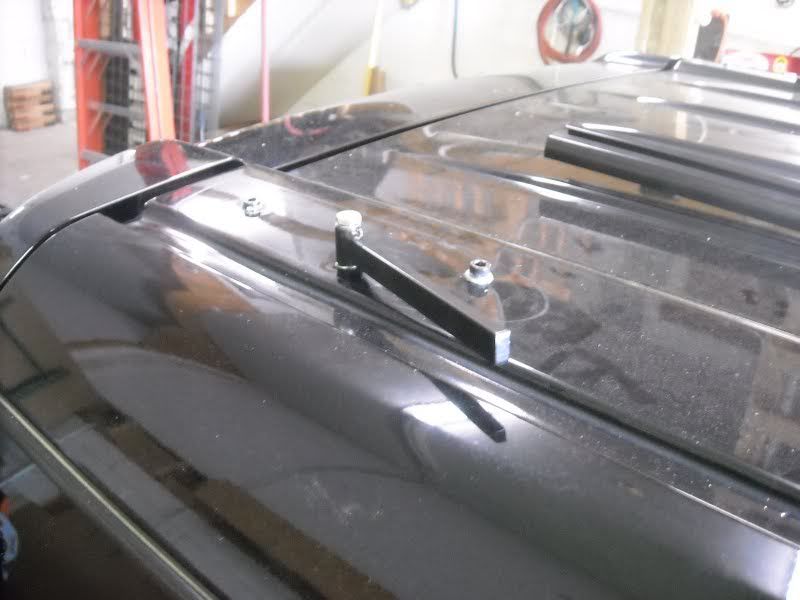
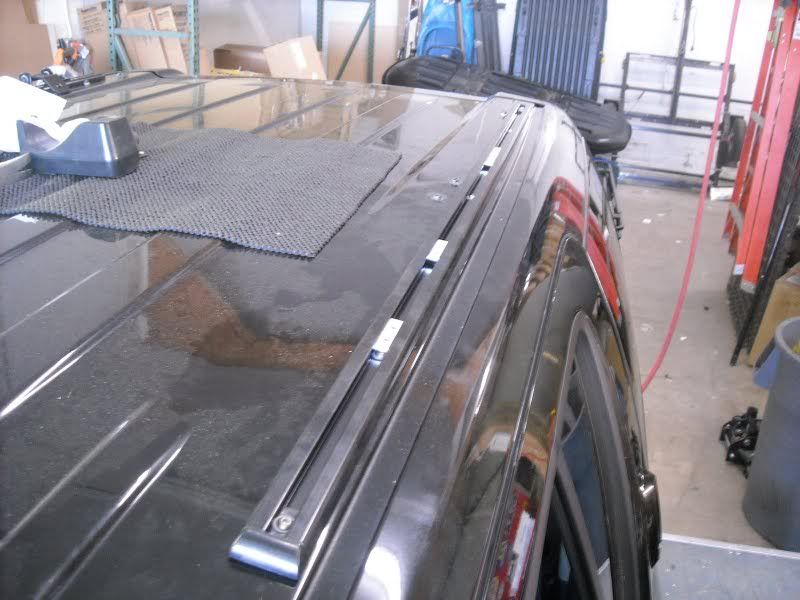
Bolt the track and end cap to the rivnuts and leave them in place for the rest of the install.
At the front of the track, measure to ensure symmetry and place them as close to the rain gutter as possible.
After measuring, tape the track to the roof with scotch tape to hold it in position and use the track as a template to center punch all the holes along it's length. Use compressed air to clean the roof. Trying to wipe a bunch of sharp metal bits off your roof with a cloth will damage your paint.
Pilot Holes...
Full Size Holes...

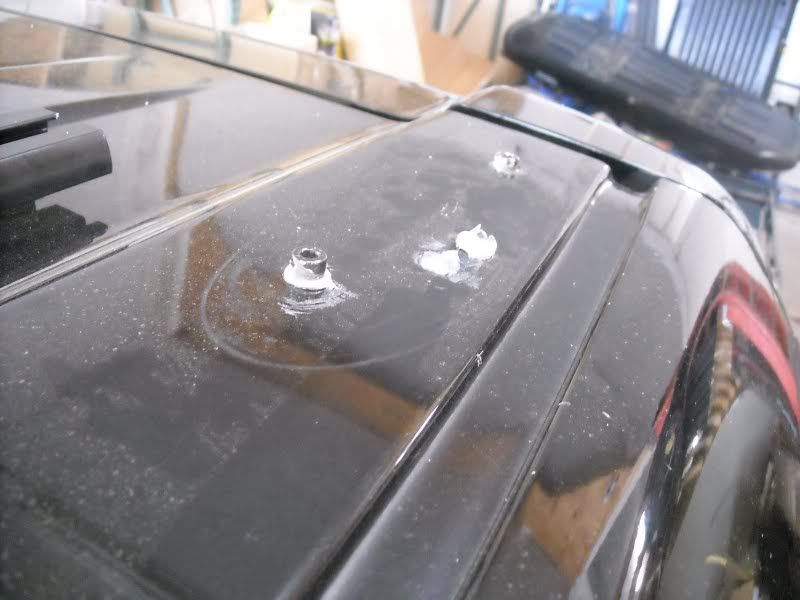
Install all rivnuts in holes and seal with silicone.
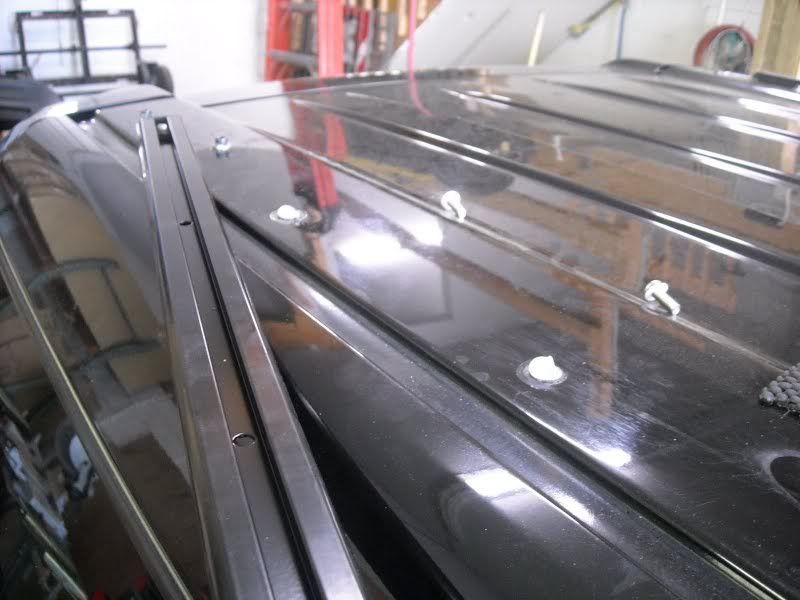
*BEFORE* you bolt down the track, make sure to insert the mounting plates FIRST. Then bolt the track down to your roof.
Assemble all mounting brakets and attach them to the mounting plates in the tracks. Make sure to leave everything loose.
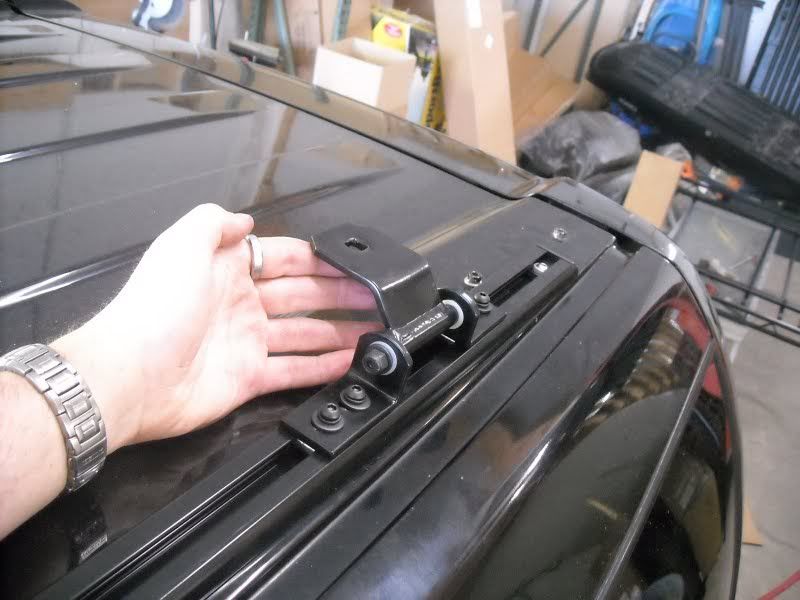
Finally, put the basket on the roof and loosely attach it to the mounts. Measure to get the basket where you want it and make sure it's centered and square. Tighten all mounting hardware. ENJOY.
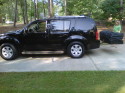
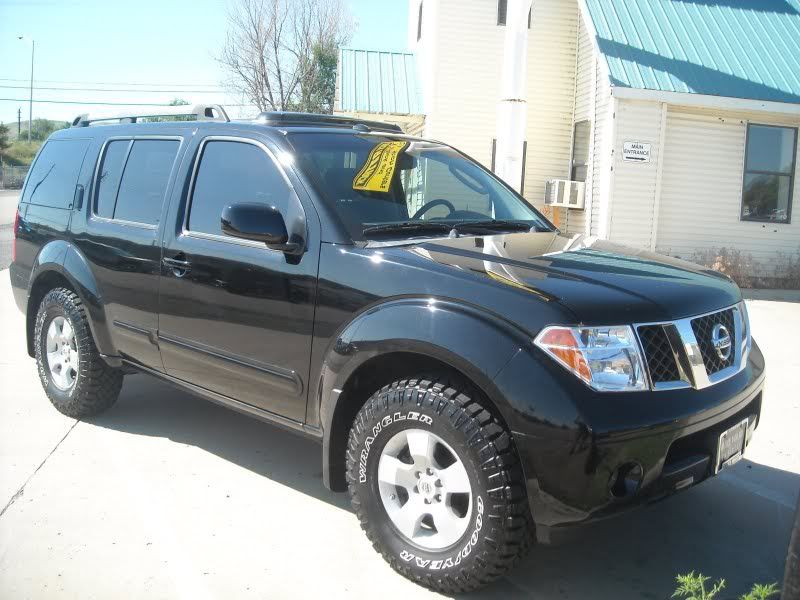
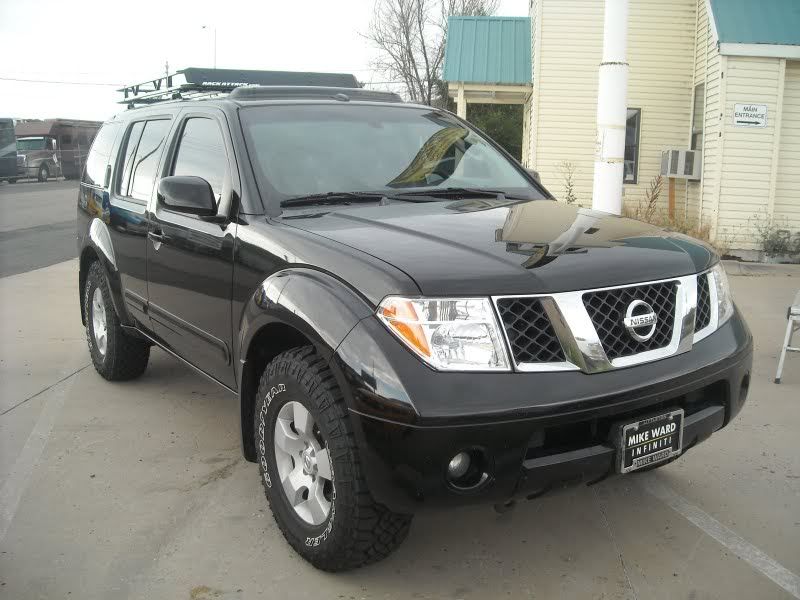
BEFORE
AFTER
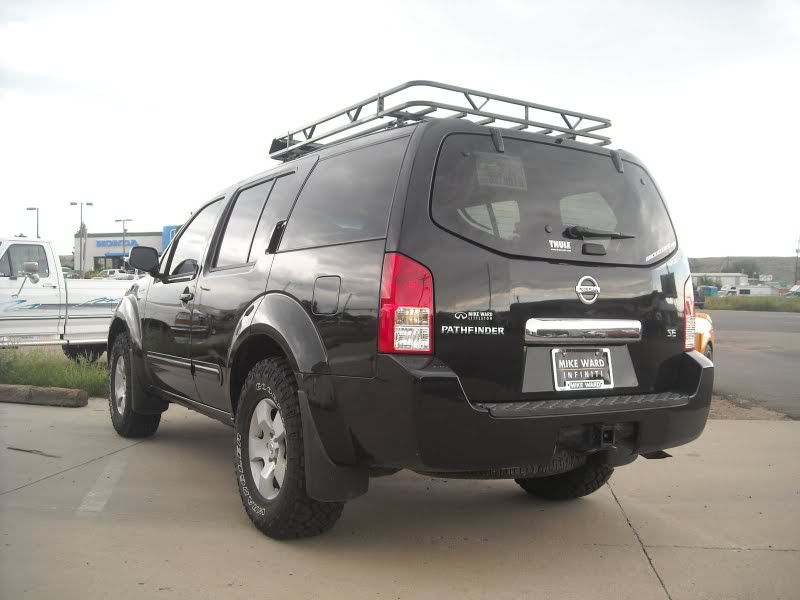
Hope this is helpful.
http://wildernessracks.com/roof_wild_tracks.html