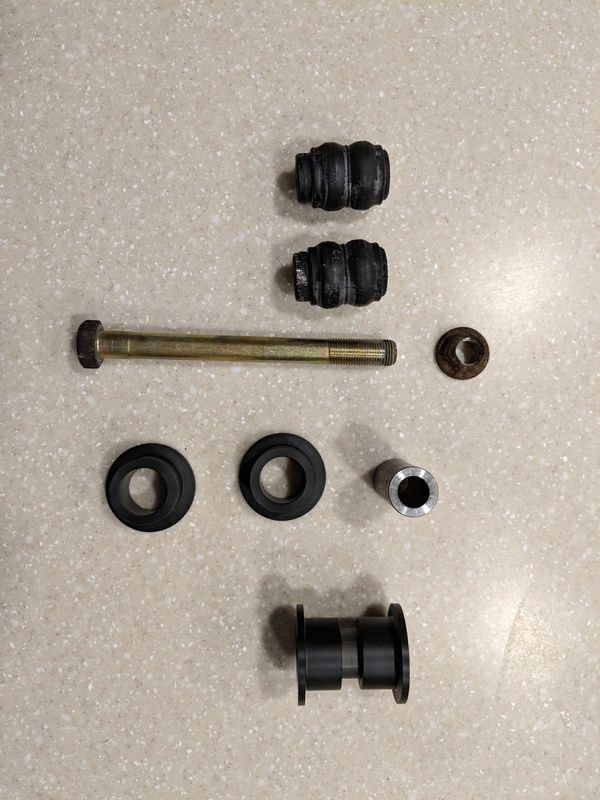
The picture below shows the old bushings on the top, and the new ones on the bottom. Aside from material changes, the difference in shape tells a lot about how much play each is going to allow.

If you Google around you'll find that some people find these easy, and some people have trouble getting theirs out. Mine were pretty tough but I figured out some tricks to pass on. Also, I am going to explain how I would do this if I did it a second time. Could probably do it in a couple hours by myself; hard to say how long it took me this time since it was coupled with replacing my radiator and oil cooler seal.
You will need a 22mm and 24mm socket, and since they're torqued to 140 ft lbs you will need either an impact wrench or a decent breaker bar and at least 28" of extension to clear the front bumper if you're on the ground. (Alternatively you could take out the fan shroud and engine driven fan, but it was easier to use the extension for me.)
To start, you have to remove your skid plate and front sway bar. If you have the truck up on a rack you could probably leave the end links connected, but if not it'll just be in your way later when you are trying to get the new bushings in.
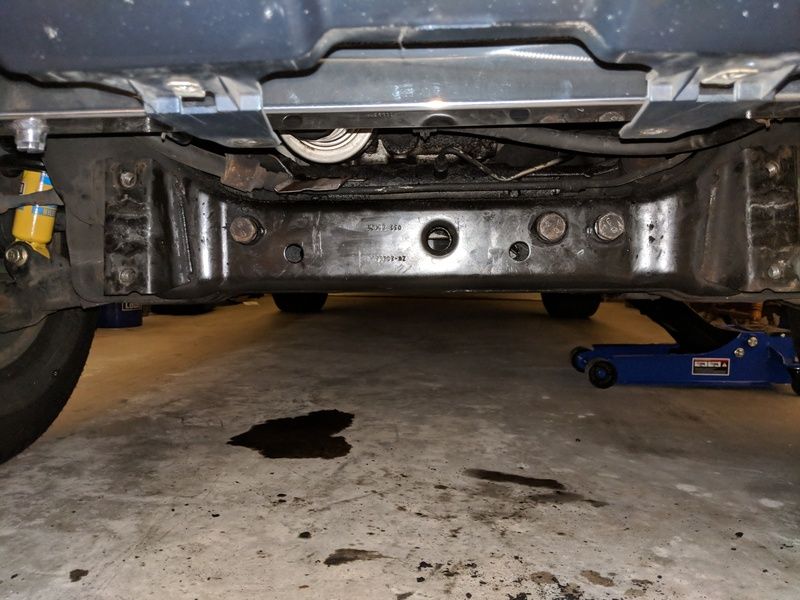
When it's out of the way, these three bolts are what hold the steering rack to the frame:

The four empty bolt holes on either side are for the sway bar brackets, so you can see it definitely has to come out.
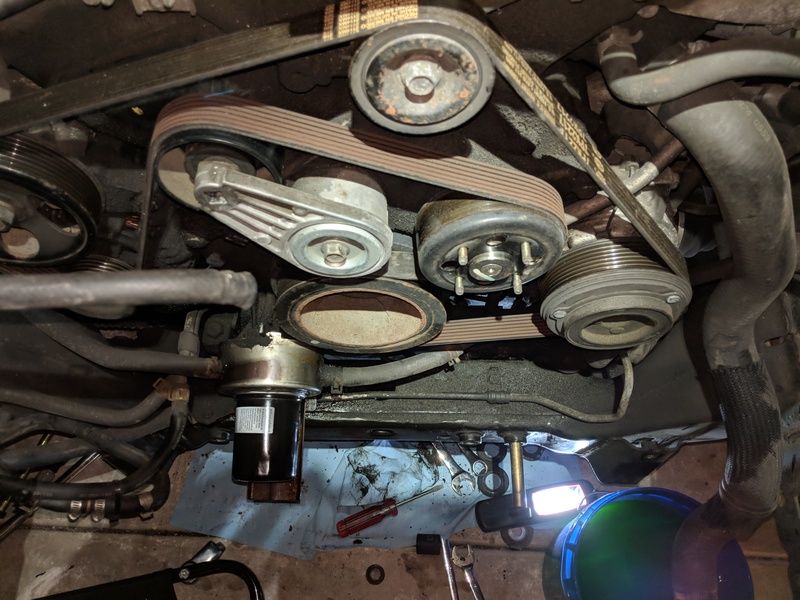
And from the top since I had the radiator out:

All three have to come out, the two on the right are where the bushings to be replaced are. When you take them all out, a metal backing plate from the nut side (aft end) and a couple plastic seals will drop off the rack. You won't need the plastic seals again, but the backing plate will go back and maybe help press the new bushings in.
My bushings did not pop out easily. What ended up working very quickly was pushing the steering rack away from the frame, then putting the bolt back in the frame with the castellated nut reverse threaded back on between the frame and the rack. Hitting the bushing a few times with a 3lb hammer knocked the bushings right out the back side (no pictures as this was mostly by feel at this point).
The new bushings are a tight fit. I squared them up and got them started as best I could, then used the bolt again to pull them in. I used the backing plate against the back to press in the forward bushings, and then the bolt by itself to pull in the rear bushings.
Important note here for 4x4's: if you put in the passenger side / right side rear bushing without the steel crush sleeve, there won't be enough clearance to get it in after the bushings are in place. So push the front bushing in, then insert the crush sleeve from the rear, then press in the rear side bushing. I didn't the first time and had to pry it out.
Now comes the fun part...torquing everything back into place. Reinstall all three bolts through the steering rack. The collar on the Delrin bushings takes up the function of the OEM plastic covers, but you do need to install the steel backing plate before the nuts go back on.
If your truck is up on a rack, you might have an easier time with this than I did since you could use both hands for torquing. I didn't and let a wrench brace up against the engine, but the 22mm I had was impossible to break free when the nut was torqued. So I had to alternate torquing, breaking loose, then walking the torque back up from 100 ft lbs to 140 ft lbs with my wrench until I had all three bolts at 140.
Once it's complete, reinstall the front sway bar, skid plate, and enjoy! It didn't transform my truck into a sedan, but it did remove the wandering and the road feel is *much* improved. Since polyurethane will be softer I would recommend these over that.

